

Our work
What the work looks like, and how to judge it yourself
Eight photographs of walls and ceilings at different stages, from a strip-out back to the joists through to a plane set flush, plus what to look for once a job is finished.
This is not a portfolio of case studies. There are no before and after sliders, no client names, no addresses and no claims about how many rooms we have done. What you get instead is a straight look at what plastering looks like while it is happening, and a plain explanation of how to tell sound work from work that was rushed.
That second part matters more than the photographs do. Almost nobody inspects a finished ceiling properly, because the faults that show up six months later are close to invisible from directly underneath in flat light. Once you know where to stand and how to hold a torch, you can check any plasterer's work, including ours.
- Eight real photographs
- Nothing staged or borrowed
- How to check the work yourself
Photographs, not case studies
What you see is the frame and nothing past it. No suburb, no client and no story attached.
Stages, not just finishes
A strip-out and a sheet going up tell you more about a plasterer than a painted room does.
Judged under raking light
Flat light hides everything. The check that matters takes a torch and about thirty seconds.
The same plane either way
A corridor in a fit-out and a back bedroom ceiling get set to the same flat surface.
The photographs
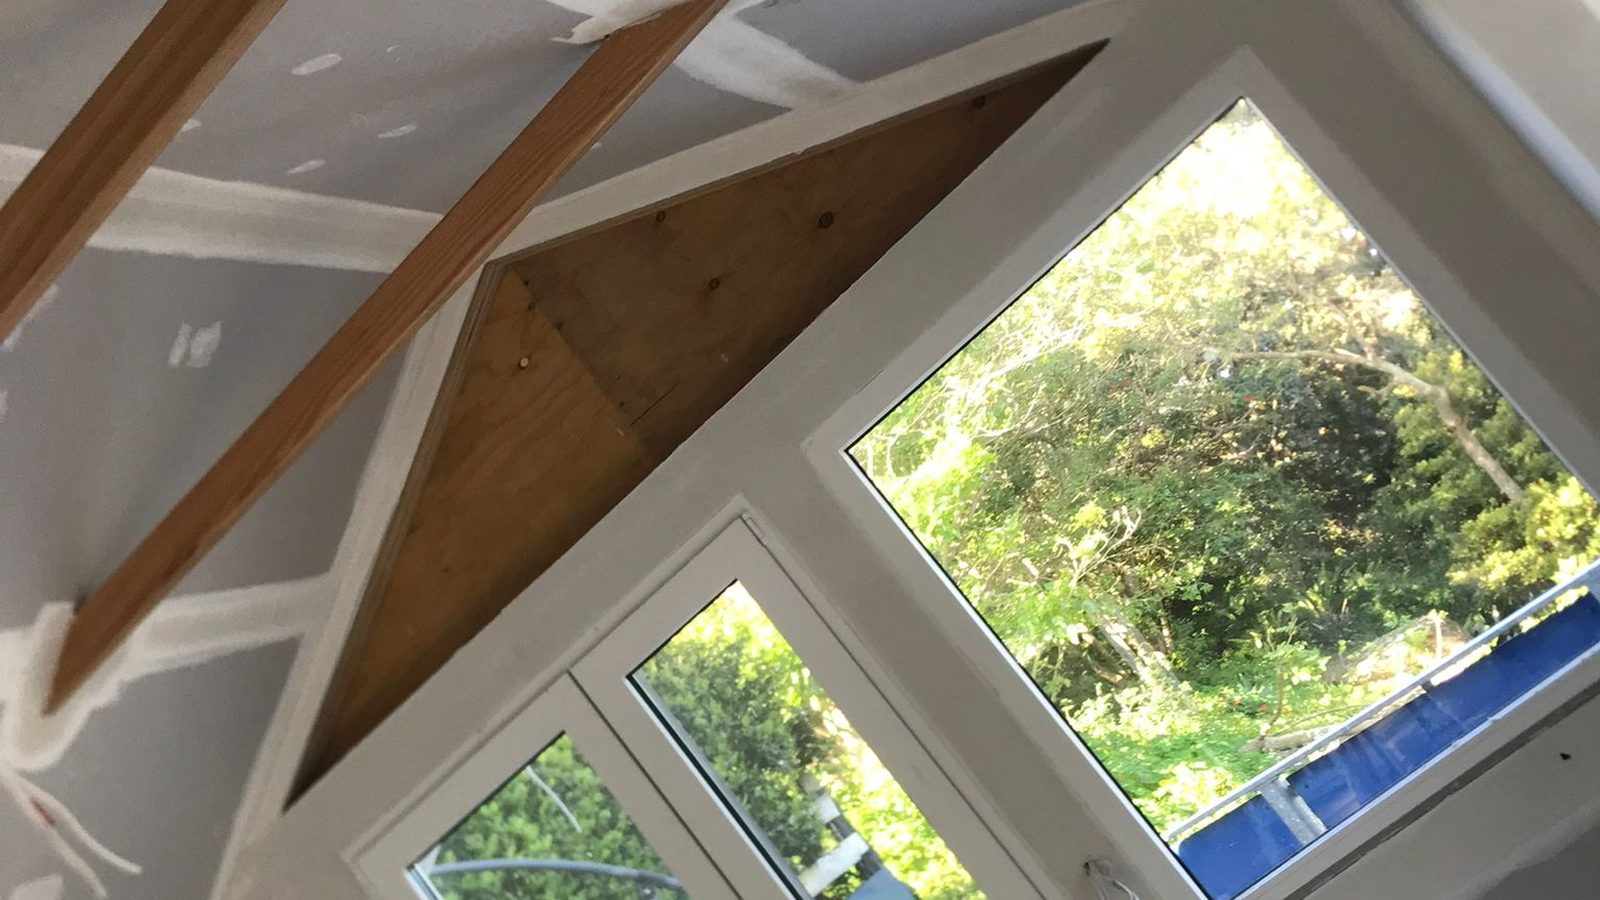
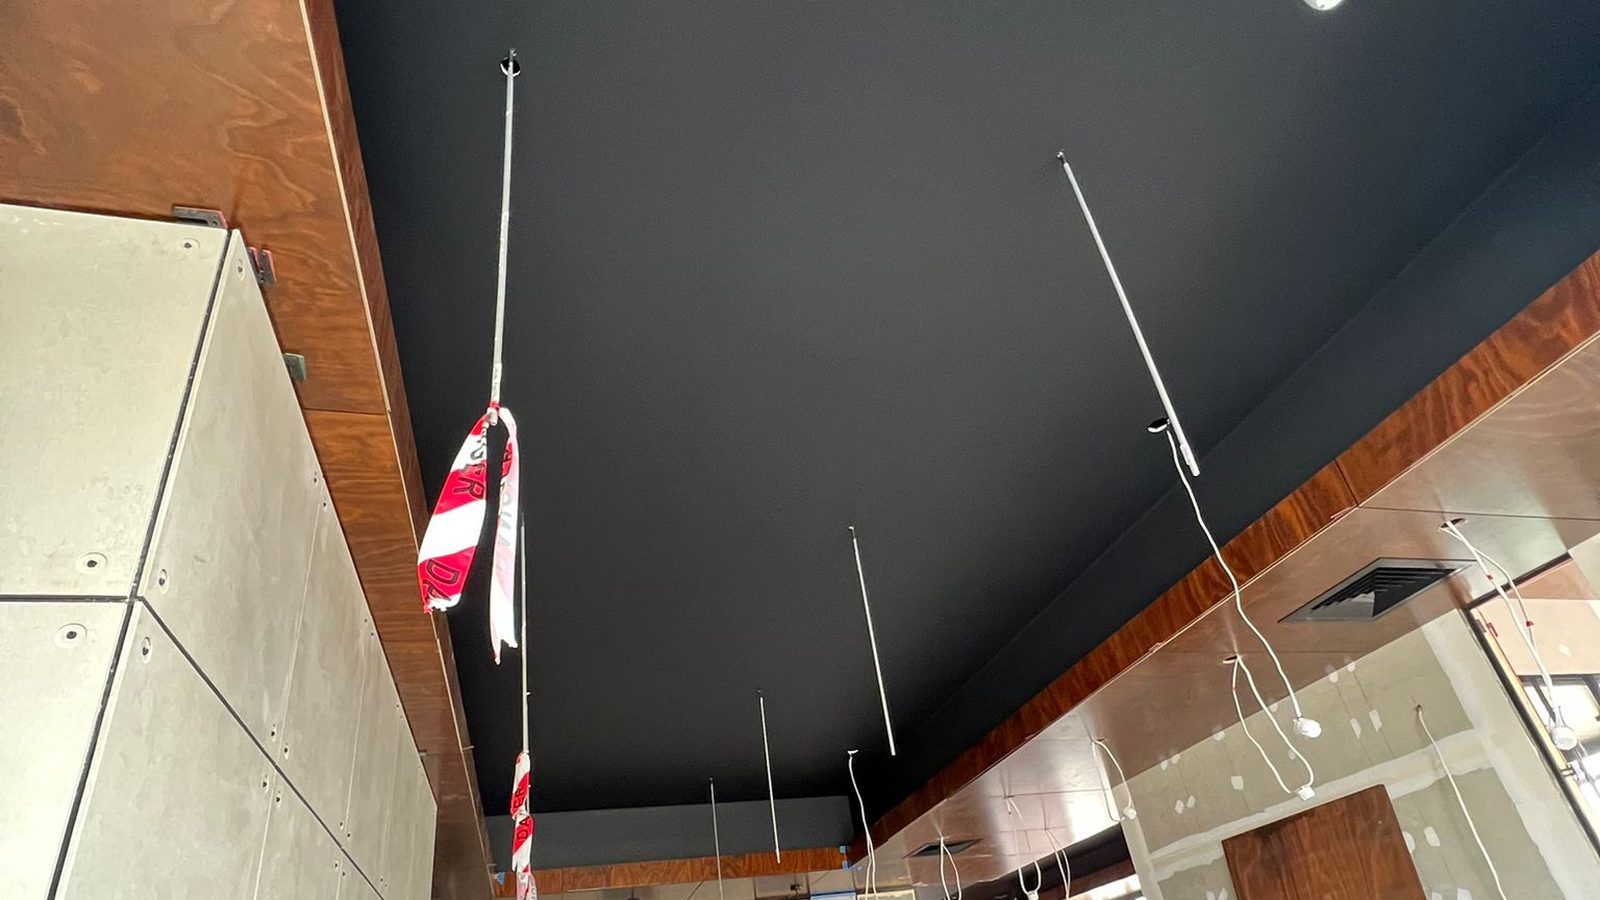
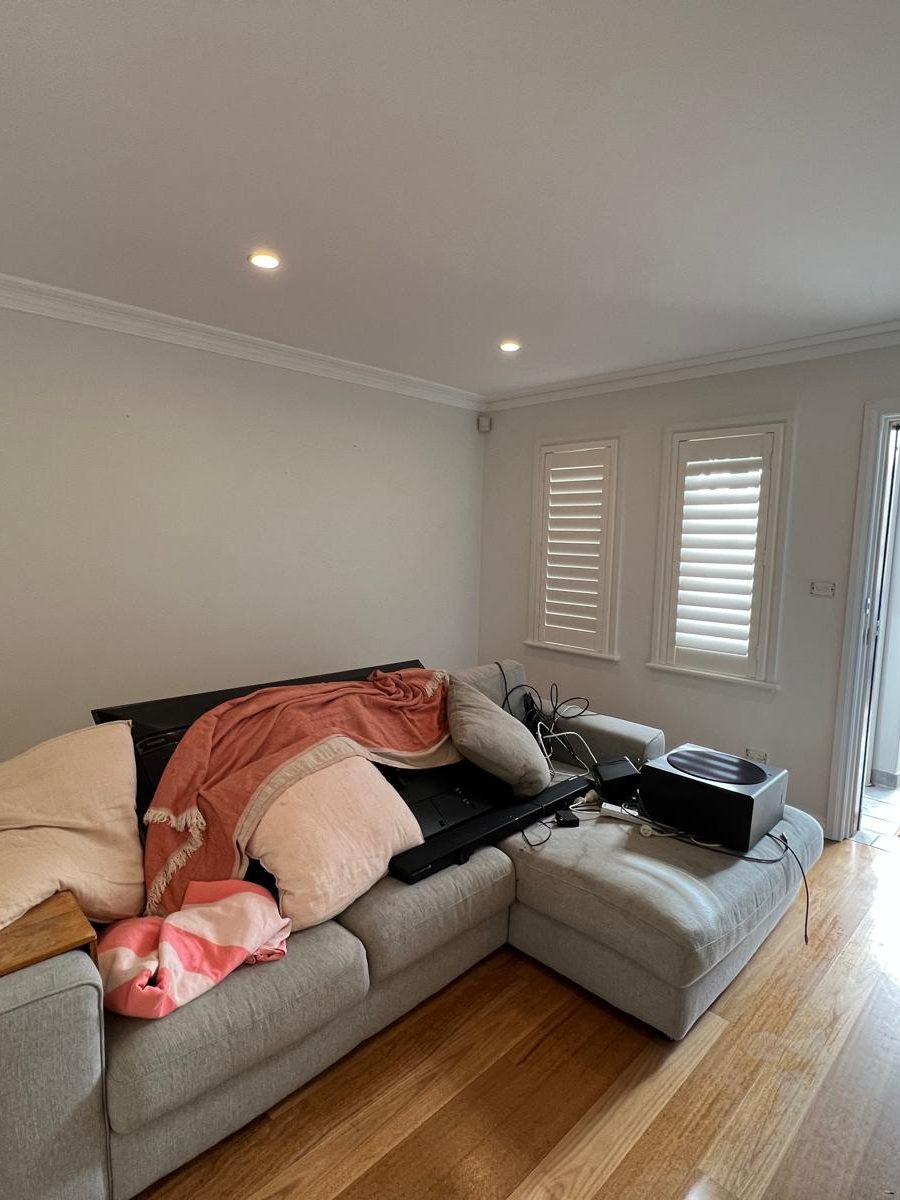
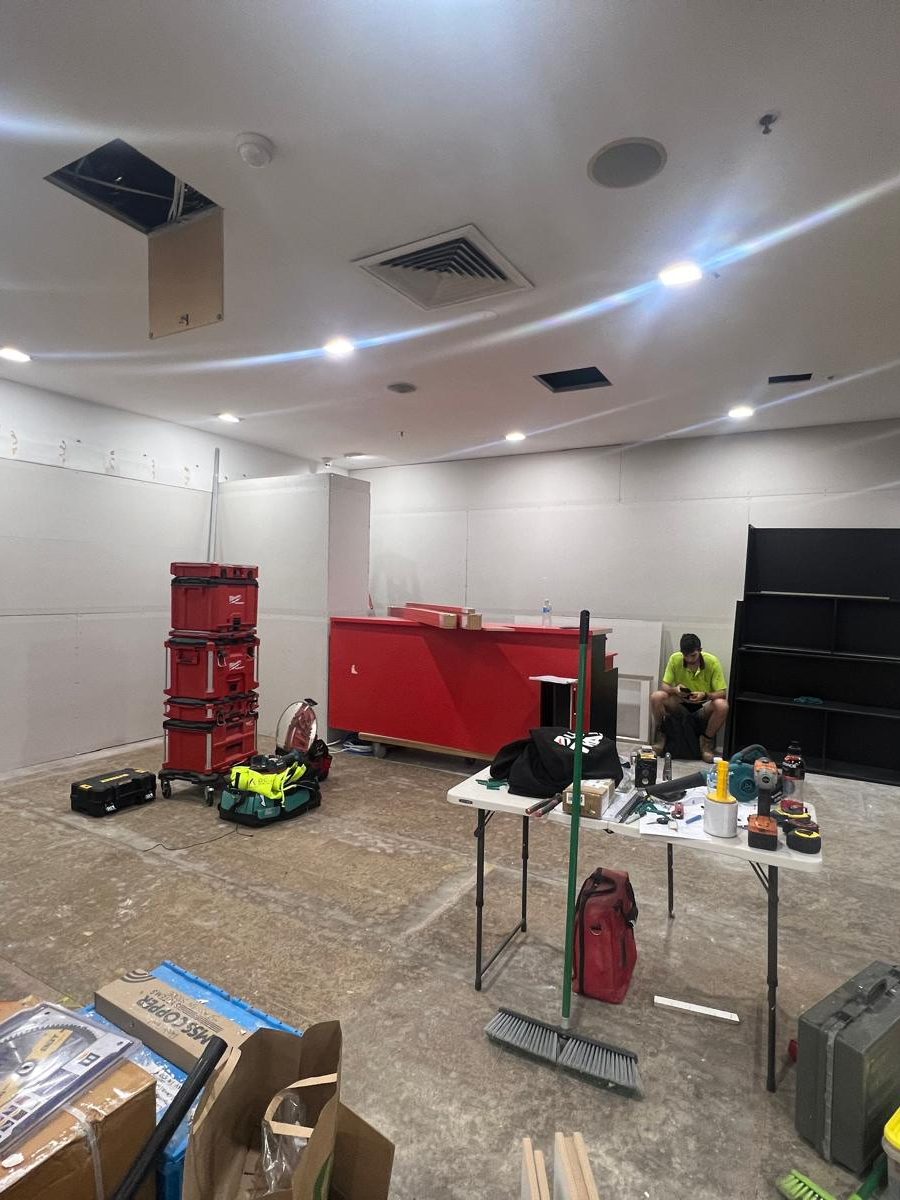
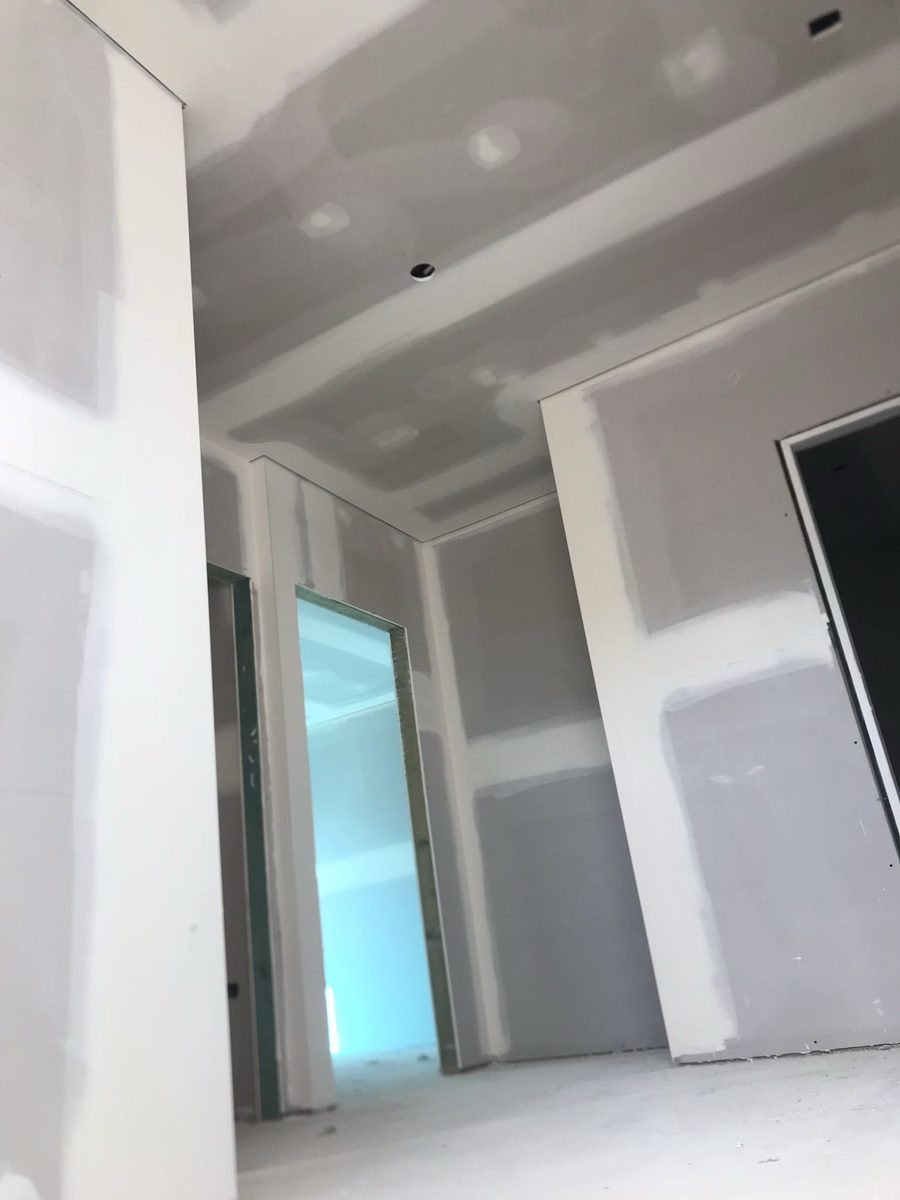
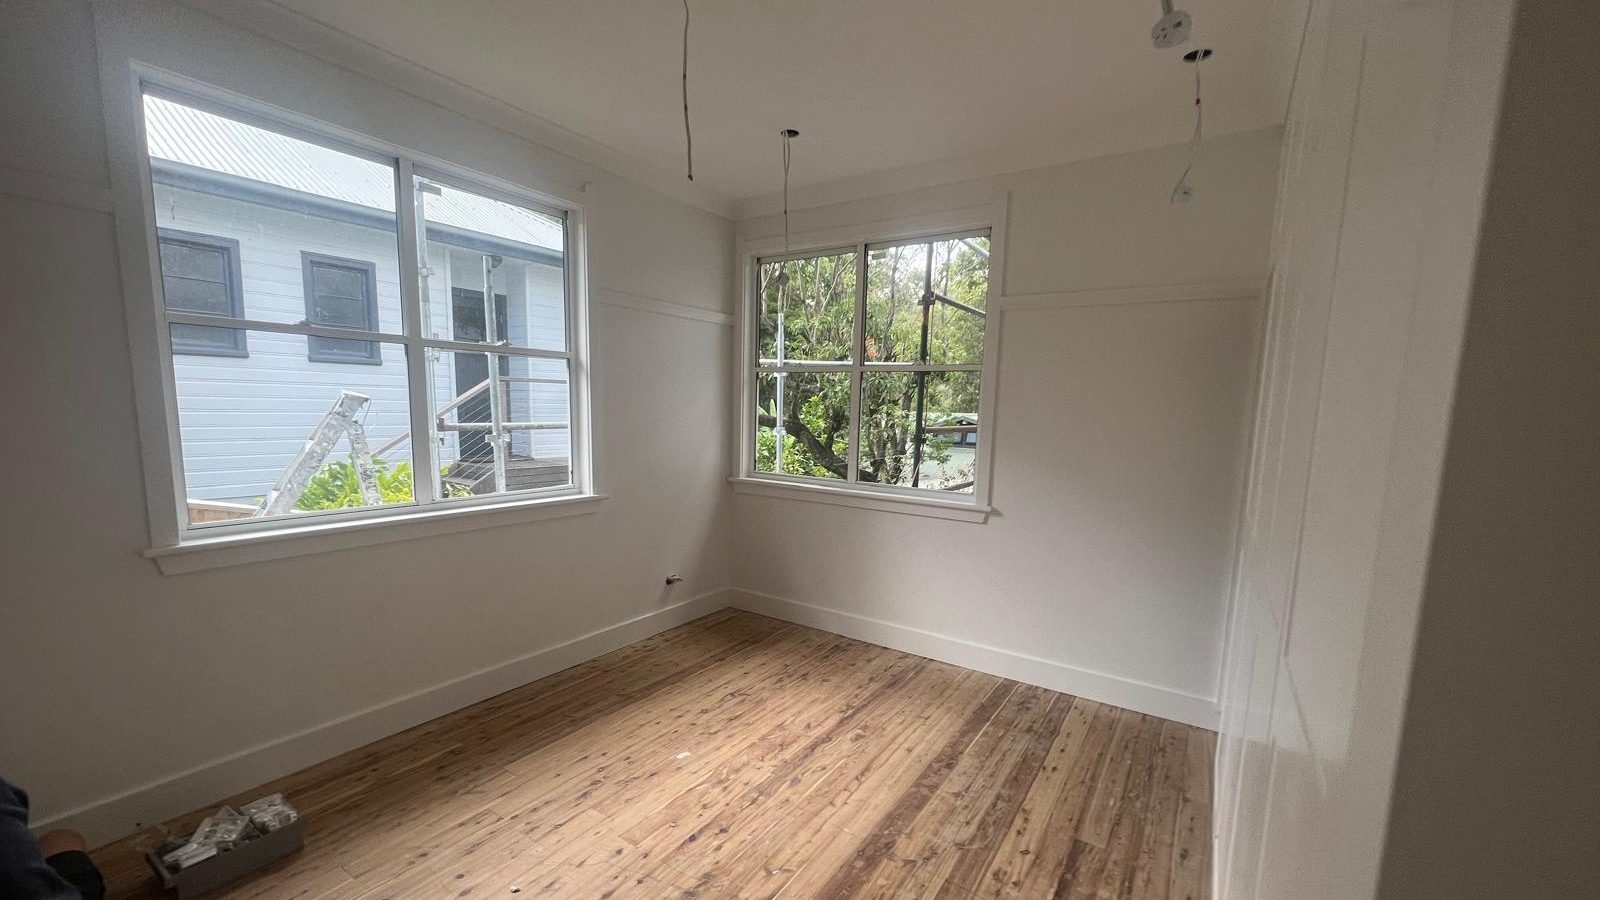
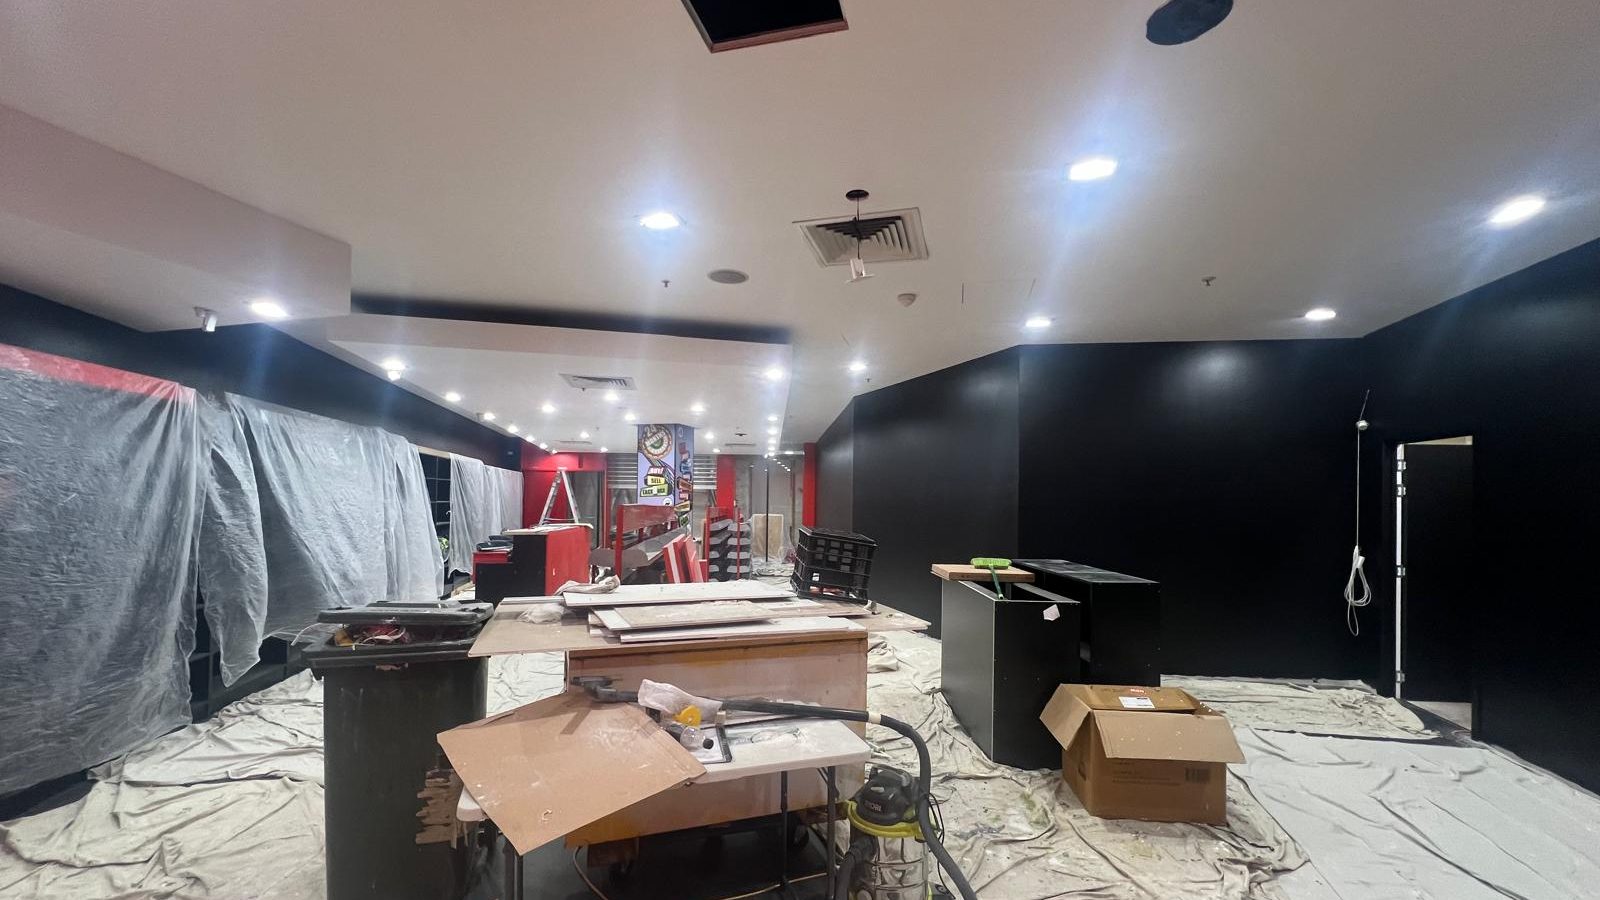
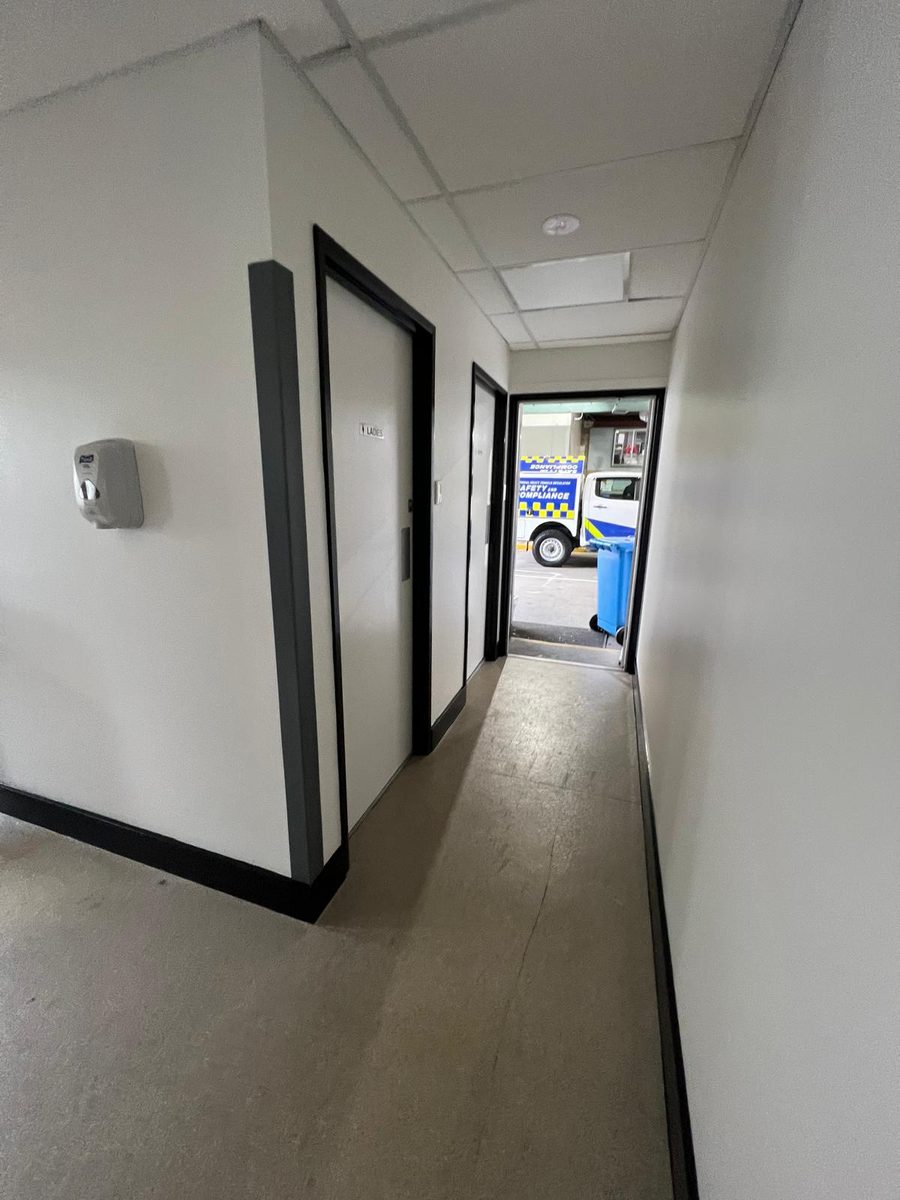
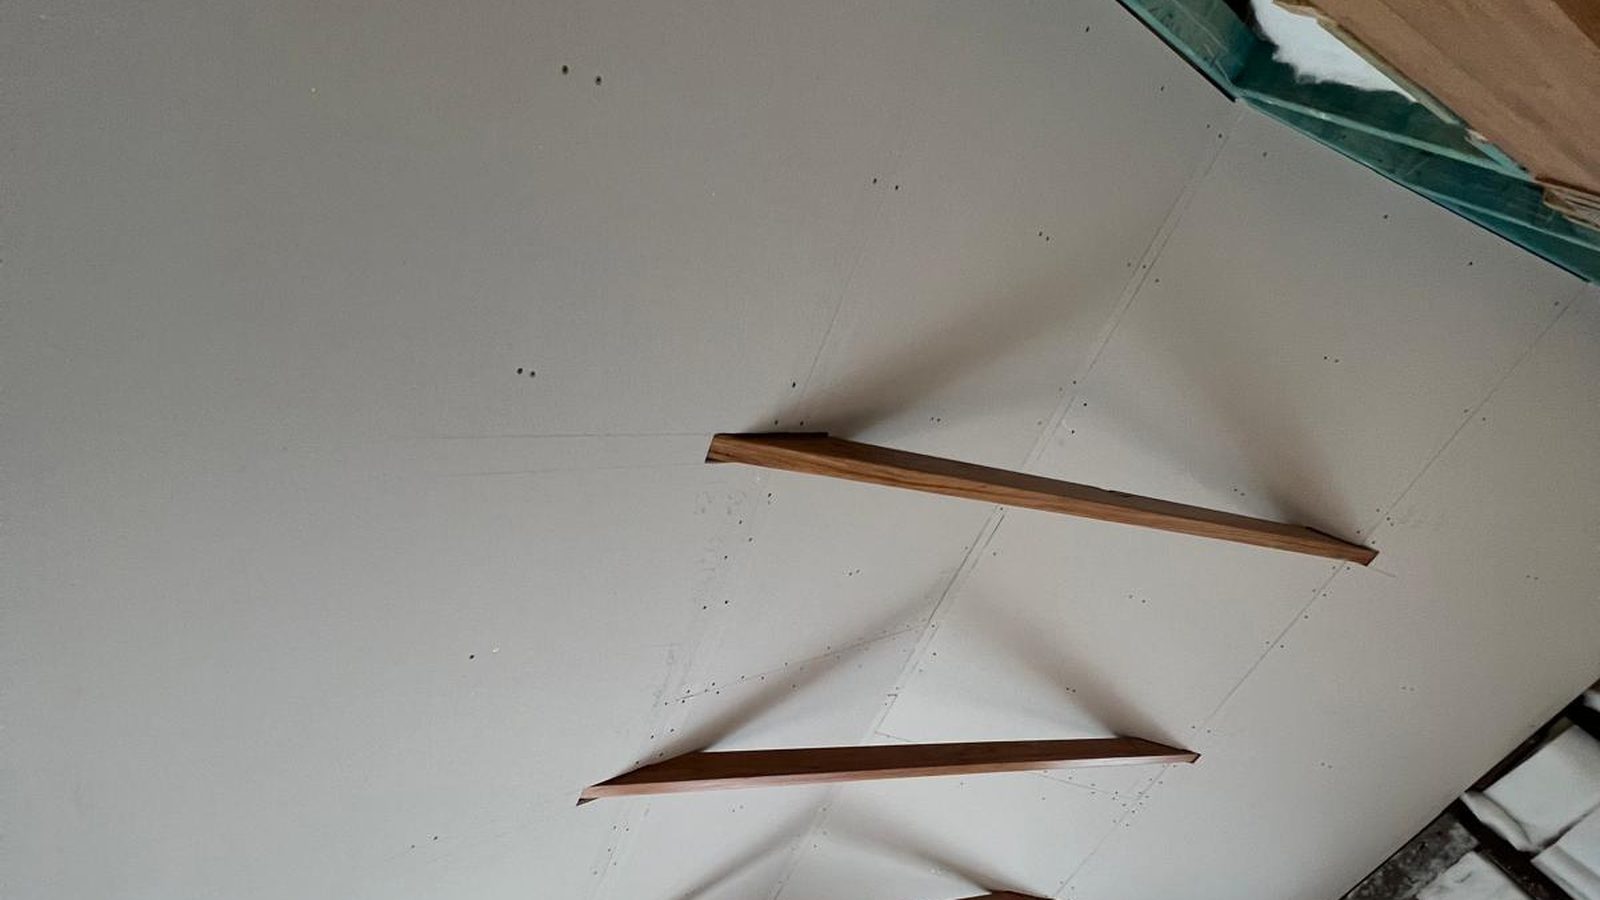
Eight photographs, in the order a job happens
Each caption describes only what is in the frame. No suburb, no client and no date, because a photograph of a finished ceiling tells you almost nothing about where it was. What it does show is the sequence: strip out, sheet, set, sand, hand over. The work itself sits under gyprock and plasterboard.
The inspection
Where to look, and what you should see
Stand where the light comes across the surface rather than straight at it, then work down this list. It applies to anybody's plastering, not only ours. Why a ceiling moves at all sits under ceiling repairs, and the rest of the trade across the services index.
| Where to look | What a sound finish looks like | What tells you it was rushed |
|---|---|---|
| Along the sheet joints | The joint disappears into the surface. You can find the width of the feathering only if you go looking for it. | A long soft ridge, or a shallow trough you can feel with the flat of your hand. |
| At the screw fixings | Nothing at all. Each fixing is spotted and sanded so the plane runs straight over the top of it. | Rows of small dimples or small raised discs, usually following a batten or a stud line. |
| Cornice mitres | The two lengths meet and every line in the profile carries through the corner. | A mitre filled with compound, or profile lines that step where they should run on. |
| The wall to ceiling junction | One clean continuous line the length of the room, whether it is coved or square set. | A junction that wanders in and out, or a fine crack already opening before the paint goes on. |
| The whole plane, from the doorway | Under a raking light it reads flat, with no shadow that moves as you move. | Shadowing that shifts as you walk, usually several old repairs sitting at different levels. |
Fair expectations
What is normal, and what is worth raising
Plasterboard is a hand-finished surface, not a manufactured panel, so there is a difference between a fault and a characteristic. Knowing which is which keeps the conversation fair both ways.
Normal in finished plasterboard
- A feathered joint you can find in raking light if you look for it, but cannot pick from where you normally stand.
- Fine hairline movement at a wall to ceiling junction in the first year, particularly in a new build that is still settling.
- A visible difference in sheen where fresh compound meets aged paint, until the whole plane is repainted.
- More than one visit for a single repair, because each coat has to dry before the next one can go on.
Worth asking about before you pay
- A ridge or a trough you can feel with the flat of your hand running along a joint.
- Fixings reading through as bumps or dimples in a line across the ceiling.
- A cornice mitre packed with compound instead of cut to meet.
- A crack that has already reopened exactly where it was repaired, which is a movement question rather than a plaster one.
- Any area that feels soft or heavy when pressed, which belongs with sagging ceilings and should be looked at rather than painted over.
Five minutes
How to run the raking light check
This is the whole test, and it is the one we use before calling a surface finished. Do it before the painter starts, because paint makes a small fault harder to correct and easier to see. A plane carrying years of separate repairs is usually a skim coating question rather than another patch.
- Turn the room lights off and open the curtains, so you have one directional light rather than an even wash from above.
- Hold a torch flat against the surface with the beam running along it rather than into it, and walk it down the wall or across the ceiling.
- Watch the shadows, not the surface. A flat plane throws nothing. A hollow or a ridge throws a soft line that moves as the torch moves.
- Do the same thing from the doorway with late afternoon sun coming in. That is the light that finds a ceiling out.
- Run the flat of your hand over anything you are unsure about. A palm picks up a step that the eye will argue about.
- Raise whatever you find before any paint goes on, while it is still a sanding job rather than a repainting one.
What these photographs are not
None of these pictures is offered as a job in a named suburb, for a named client or at a named price. There is nothing attached to them you would have to take on trust. They show plastering at recognisable stages, which is the honest use for a photograph on a trade website.
If you want to know what the work would involve at your place, the useful photograph is one of your wall or ceiling rather than one of these. Send one through with the light raking across it, and a second from further back, and you will get a straight answer about what you are looking at.
Your wall or ceiling
Send a photo of the surface you are worried about
One picture with the light running across it, and one from further back, is usually enough to say what the job is. How we assess and quote before anyone starts is set out on the about page.