
Ceiling installation
New plasterboard ceilings: the framing under them, sheet direction across the span, and what insulation above changes.
Ceilings
Plastering Gyprock Ceilings
Installation
Sheeting new and existing walls and ceilings: the right board for the job, fixed on a proper pattern, then taped and set to a finish level that was agreed before anyone started.
Most of what decides whether a lined room looks right was settled before any compound went on. Which board went where, how the sheets were laid out, whether the frame was true enough to fix to, and what level of finish the walls were being taken to. Get those four right and the setting is the straightforward part.
This page is the broad supply-and-fix job: walls and ceilings, new work and existing, one room or a whole floor. Where a job needs a ceiling system, a wall built from scratch, or board inside a rated system, those have their own pages.
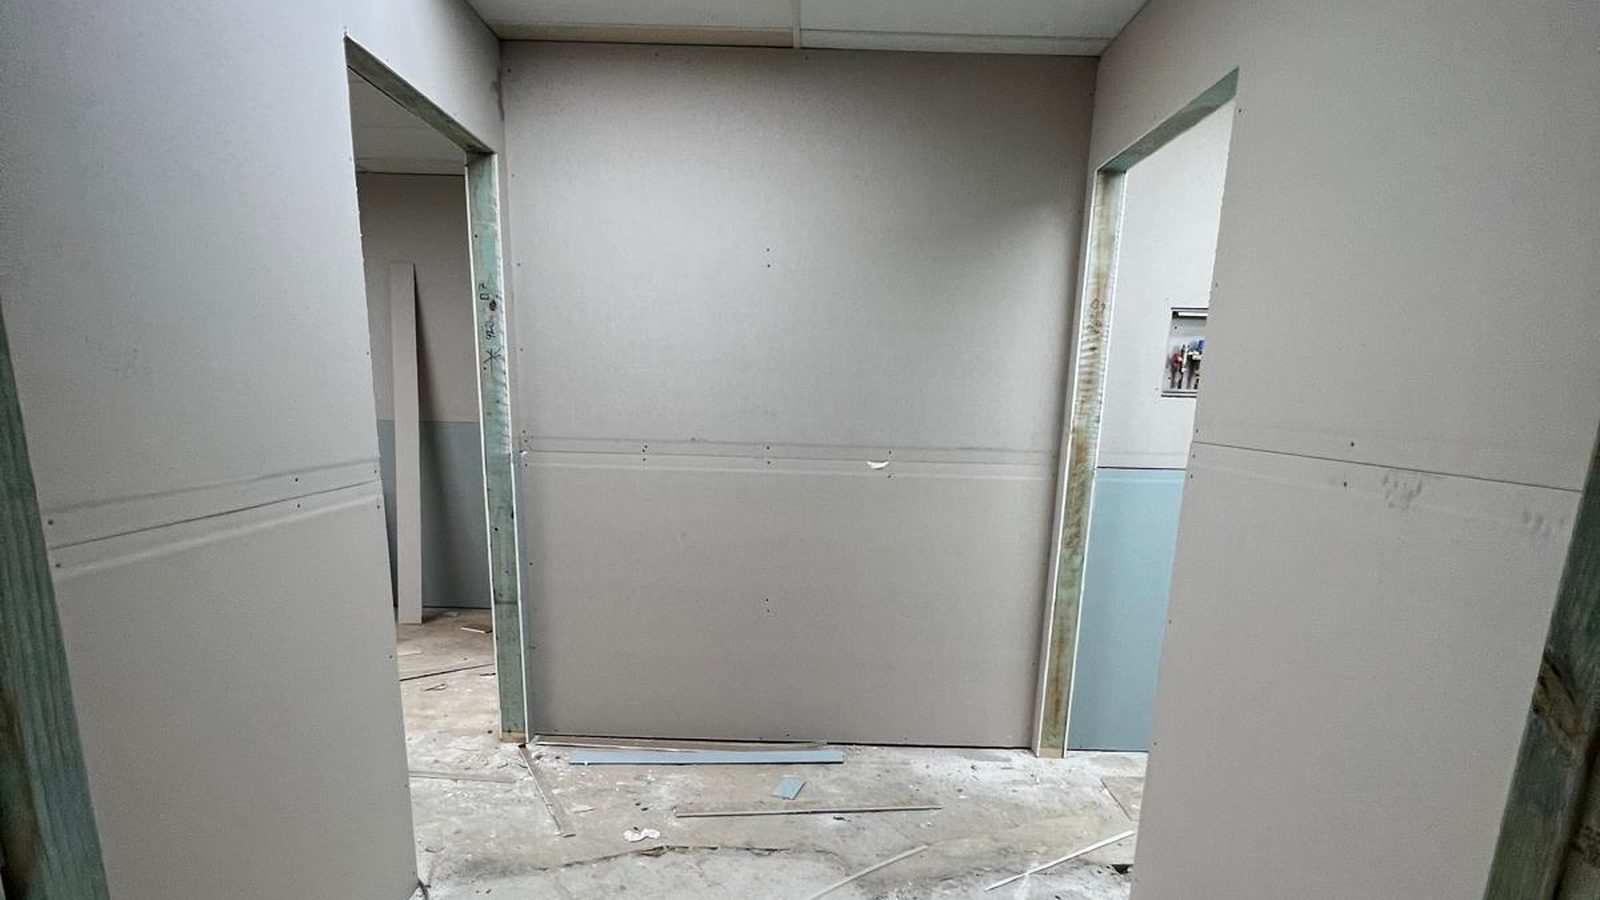
The board is a decision
Thickness, sheet length and board type change with the span, the room and what the surface has to carry.
Set out before it is cut
Where the joints land decides how a wall reads in a year. That is worked out on the frame, not from the offcut pile.
Finish level named, not assumed
A wall under downlights and a wall behind a wardrobe are not the same job. We agree which one you are paying for.
We say what has to be ready
Frame true, services roughed in, noggings in for anything being hung. Sheeting over a problem only buries it.
Scope
This is the general plasterboard lining scope: sheeting walls and ceilings on framing that is ready for it, and finishing that lining properly. The systems on the right are still plasterboard. They carry requirements that change how they are built, so each is its own page rather than a paragraph on this one.
If a job spans several of these, list them together at the quote. A bathroom, a laundry and three bedrooms is one visit with different board in different rooms, not five separate jobs.
Board selection
Plasterboard looks like a single product stacked on a truck. It is not. Six broad choices cover almost everything in a Sydney house or fit-out, and the wrong choice is one of the few plastering mistakes better setting cannot rescue.
Ten millimetre board on wall framing at normal spacing. Right for most walls in most houses, and what a square metre rate assumes unless the quote says otherwise.
A ceiling holds its own weight between fixings for the life of the building, so thickness has to match how far apart the joists or battens sit. Wall board on widely spaced ceiling framing is a common reason a new ceiling dishes between the lines of screws.
Denser board for corridors, hallways, stairwells, garages and anywhere trolleys, prams, bikes or luggage live. It costs more per sheet and saves the patching bill in a building where the same corner gets hit every week.
Thin board bent to a radius over closely spaced framing, for curved walls, bulkhead returns and arched openings. Every flexible board has a tightest radius it will take without cracking, so a curve gets measured before it is promised.
Board with a water-resistant core for bathrooms, laundries and kitchens. It is a substrate, not waterproofing, and what goes over it matters more than the sheet.
Board used inside a tested system to reach a fire resistance level or a sound rating. The sheet alone achieves nothing: the system is the framing, the insulation, the layers and every edge detail, which is why rated work is quoted as a system.
Finish levels
Finish level is the most common source of disappointment in plasterboard work, because each side assumes the other meant the same thing by flat. Australian practice describes lining finishes in levels, so it is worth naming the one you want before anybody quotes. Where nothing is named, Level 4 is what a normal quote means.
| Level | What is done to the surface | Where it normally suits | What to expect |
|---|---|---|---|
| Level 2 | Joints taped with one coat over tape and fixings. Tool marks and ridges are acceptable | Surfaces nobody sees: behind cabinetry, in a garage, above a bulkhead | Not a paint-ready finish and never sold as one |
| Level 3 | Two coats over joints, beads and fixings, sanded, with nothing over the board face | Walls taking a heavy texture, a thick wall covering, or tiling straight over | Fine under texture or tile. Visible under gloss paint and raking light |
| Level 4 | Three coats over joints, beads and fixings, sanded flat and free of tool marks | The usual finish for a house or an office wall in flat or low-sheen paint | What a normal quote means unless it says something different |
| Level 5 | Level 4 plus a thin skim across the whole surface so board face and joints read as one plane | Gloss and semi-gloss paint, dark colours, long walls, and ceilings lit by downlights or wall washers | A separate line on a quote, because it is a separate operation. On an existing surface the same work is skim coating |
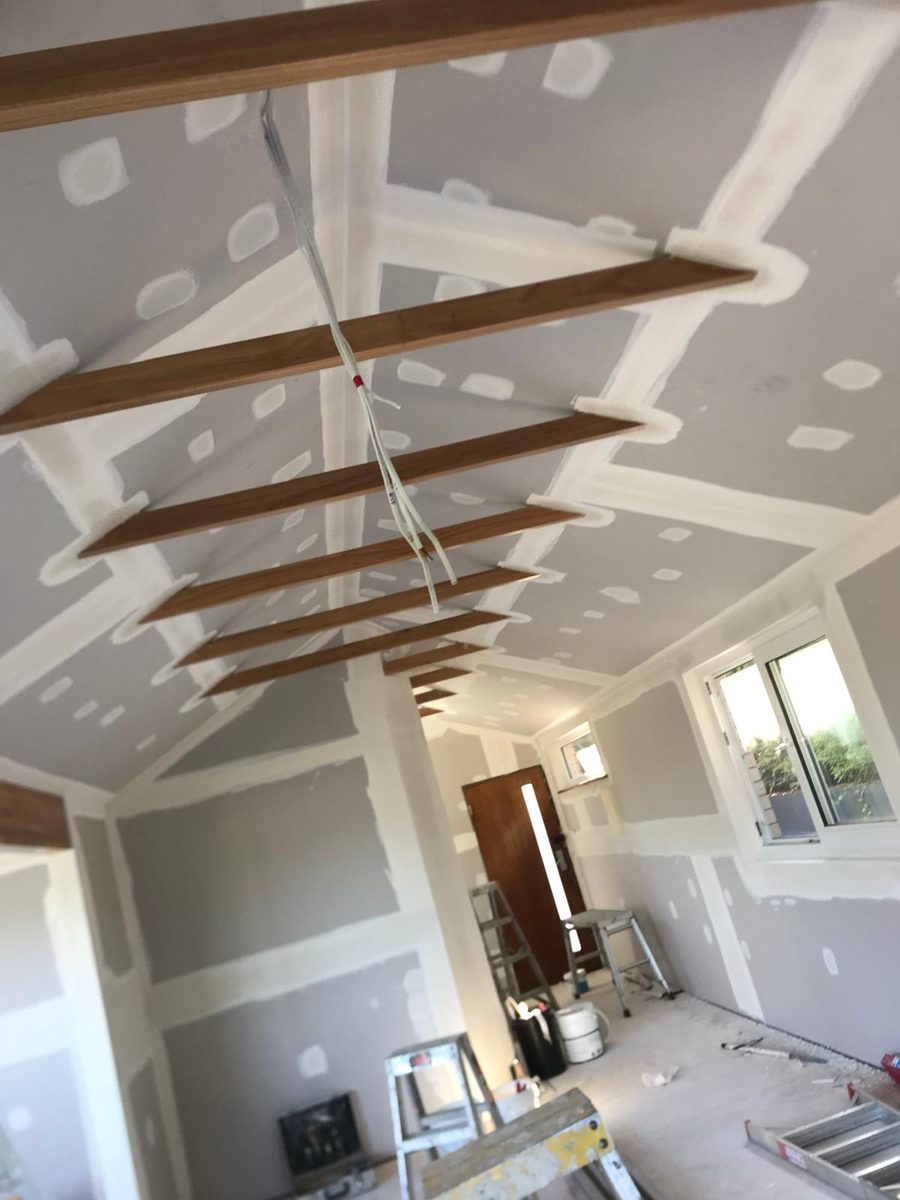
Setting out
Two plasterers can use identical board on identical framing and hand back walls that look different in twelve months. The difference is almost always layout and fixing rather than setting.
Sheet direction comes first. On walls, board normally runs so the long recessed edges land on studs and meet each other, because a recessed joint sits below the surface and can be filled flush with the board face. A butt joint, where two cut ends meet, has no recess, so compound has to be built up above the face and feathered a long way out to disappear. Fewer butt joints means fewer places a wall can show a line.
Then the openings. A joint running out of the top corner of a door or window is the most likely crack in any new wall, because that corner is where the frame does most of its moving. Where sheet lengths allow, the layout puts a full sheet over and past an opening rather than stopping on its edge.
Then the fixing. Screws go in at a spacing suited to the board and the framing, driven just below the face without breaking the paper, because a screw that has spun through the paper has lost most of its grip. On masonry, board goes on adhesive dabs with mechanical fixings where needed, laid out so the sheet finishes in one plane rather than following every bump behind it.
Last, the joints that cannot be avoided. Butt joints on a ceiling, and long butt joints on a wall, are backed so both sheet ends sit slightly below the plane of the framing. The joint can then be built up and still finish flat, instead of standing as a low ridge you find every time light runs along the surface.
Before the delivery
None of this is a demand. It is the list of things that, unsorted, turn a two-day lining job into a four-day one with a return visit inside it.
How a lining job runs
A lining job is front-loaded. Most of the thinking happens before the first sheet goes on, and most of the waiting happens after the last one.
Walls and ceilings measured, board type and sheet lengths chosen, and the layout worked out so the delivery matches the job rather than the truck. The finish level is agreed here, because it changes the price and the program.
Board is heavy, awkward and easy to damage. It arrives as close to the work as access allows, stacked flat and clear of damp, and spread into the rooms it belongs in so nothing is carried twice.
Ceilings go up first so wall sheets run up tight underneath and support the ceiling edge. Board is cut to land on framing, fixed on a proper pattern, and service openings are cut as the sheets go on rather than hunted for afterwards.
External corners take metal angle bead, fixed straight and checked by eye down the full height. Stopping beads go to raw edges and reveals. A corner out of line here cannot be corrected later with compound.
Recessed joints taped and filled, butt joints built up and feathered wide, fixings spotted, internal corners run. Each coat dries before the next because compound shrinks as it goes off. This part of the program cannot be compressed.
Sanded to the agreed level and checked with light running across the surface rather than straight at it. Then dust cleaned up, offcuts removed, and the rooms handed over ready for the painter.
Planning and fixing Setting and finish
The quote
Square metres get you a rough number. These move it, and nearly all of them are known before anyone picks up a sheet.
A whole floor lined in one visit costs less per square metre than the same area across four bookings. Setting up, protecting, sanding and cleaning happen once instead of four times.
Standard board is the cheapest sheet on the truck. Thicker, impact, flexible, moisture resistant and rated board all cost more, and rated systems usually mean more than one layer.
Level 4 is the usual assumption. Level 5 adds a skim across every square metre, with its own drying and sanding. That is an extra operation, not more care with the same one.
Board does what it is fixed to. Straightening, packing or furring a frame that is out adds time before sheeting starts, and costs less than burying the problem in the set.
Flat area is quick. The time sits in external corners, window reveals, bulkhead returns, service openings and anywhere board is scribed to something already built.
Board is moved by hand. A single storey with a driveway is one thing. A second floor up a narrow stair, or a unit with a lift booking and a loading dock, changes the labour before any plastering starts.
Working around other trades means working in stages, and staged work costs more than a clear run. A house being lived in, a tenanted unit or a shop that keeps trading also needs protection, dust control and often restricted hours.
Where it goes next
Four pages pick up work that starts as a plasterboard enquiry and turns out to need a system rather than a sheet.
New plasterboard ceilings: the framing under them, sheet direction across the span, and what insulation above changes.
CeilingsBuilding the wall rather than lining one. Steel or timber studs, openings, head and base detail, and junctions to what is already there.
PartitionsBoard and substrate for bathrooms, laundries and kitchens, sequenced properly ahead of waterproofing and tiling.
Wet areasThe wall and ceiling junction where no cornice is going in, and what that finish asks of the lining underneath.
JunctionsQuestions
The ones that come up on nearly every lining quote, answered plainly.
Gyprock is a brand of plasterboard, in the same way that a particular name gets used for a whole product across a trade. In Australia the words get used as if they mean the same thing, and on a quote they usually do.
Where it matters is when a job calls for a specific tested system. Rated fire and acoustic systems are tested as a complete build-up of a named board with named framing, insulation and fixings, so on that sort of work the manufacturer and the product code matter and cannot be swapped for whatever is on the truck. On ordinary walls and ceilings, board from any of the main manufacturers does the same job.
Often yes, and it can be the cheaper answer. Sheeting over something sound avoids the mess, the waste and the disruption of a strip out, and gives you a clean surface to finish. It works best where the existing surface is firm and reasonably flat, and where the framing behind it can be found reliably to fix to.
It is the wrong answer in three cases: where the surface underneath has failed or is holding water, where nobody knows what the old lining is made of, and where the extra thickness causes trouble at door frames, architraves, skirting, cornice or window reveals. If the honest answer is that the old lining should come out, that is ceiling replacement or a strip out rather than a sheet over.
On walls, ten millimetre board suits normal stud spacing and covers most of what a house needs. Thicker board goes on where framing is more widely spaced, where the surface has to take punishment, or where a rated system calls for it.
Ceilings are where to be careful. Board on a ceiling holds its own weight between fixings for the life of the building, so thickness has to match the spacing of the joists or battens. That is why a ceiling and a wall in one room can be sheeted in different board, and why each manufacturer publishes a maximum spacing per thickness. We work to that rather than to what is left over from the walls.
The fixing is fast. A single room can often be sheeted in a day. What sets the timeline is the setting, because each coat of compound has to dry before the next goes on, and compound shrinks slightly as it dries.
So a normal room is a fixing visit and then two or three shorter setting and sanding visits across several days. Bigger jobs overlap, with one area drying while the next is sheeted. A house sheeted, set and sanded in two days will shrink back along every joint.
We cut openings in the board as it goes on, from positions the trade that owns the fitting has set out. That order gives clean holes, because a cut made on a sheet being fixed is straightforward and one made afterwards from underneath is not.
What it needs is positions before sheeting. If the downlight layout, the fan position or the duct runs are still being decided, say so and the sheeting around them can be held back. Openings cut into a wall or ceiling that has already been set and sanded are a repair, and they get quoted as one.
Back-blocking is supporting a butt joint from behind so the two sheet ends sit a little below the plane of the framing. The joint can then be built up with compound and still finish level, instead of ending up as a slight ridge across the wall or ceiling.
It matters most on ceilings, on long walls, and anywhere the finished surface is going to be washed with light. It matters least where the surface is short, well lit from the front, or getting a texture. Where butt joints can be avoided entirely by choosing longer sheets, that is usually the better answer, and it is part of why the sheet layout is worth doing on paper first.
Get it priced
Room sizes, what is going on the walls, and whether it is new framing or existing surfaces. That is usually enough for a price, and we will say which board and finish level the number assumes.