
Wall repairs
Holes, impact damage and cracked walls made good first, because a skim follows the surface rather than fixing it.
Wall repairs
Plastering Gyprock Ceilings
Resurfacing
A thin coat taken over the whole wall or ceiling rather than the damaged part of it, so years of separate repairs, old texture and tired surfaces stop reading through the paint.
There is a point where filling one more patch stops helping. The board is fine, the frame is fine, nothing is broken. The surface is simply no longer one plane, because it carries a decade of repairs done at slightly different levels, or a texture somebody rolled on in the 1980s, or the shadow of wallpaper that came off in pieces.
A skim is the answer to that specific problem. The whole surface gets a thin coat, worked out to the edges, so the wall or ceiling is flat again as one piece instead of flat in patches. It is finishing work, not repair work, and the difference matters when you are deciding what to ask for.
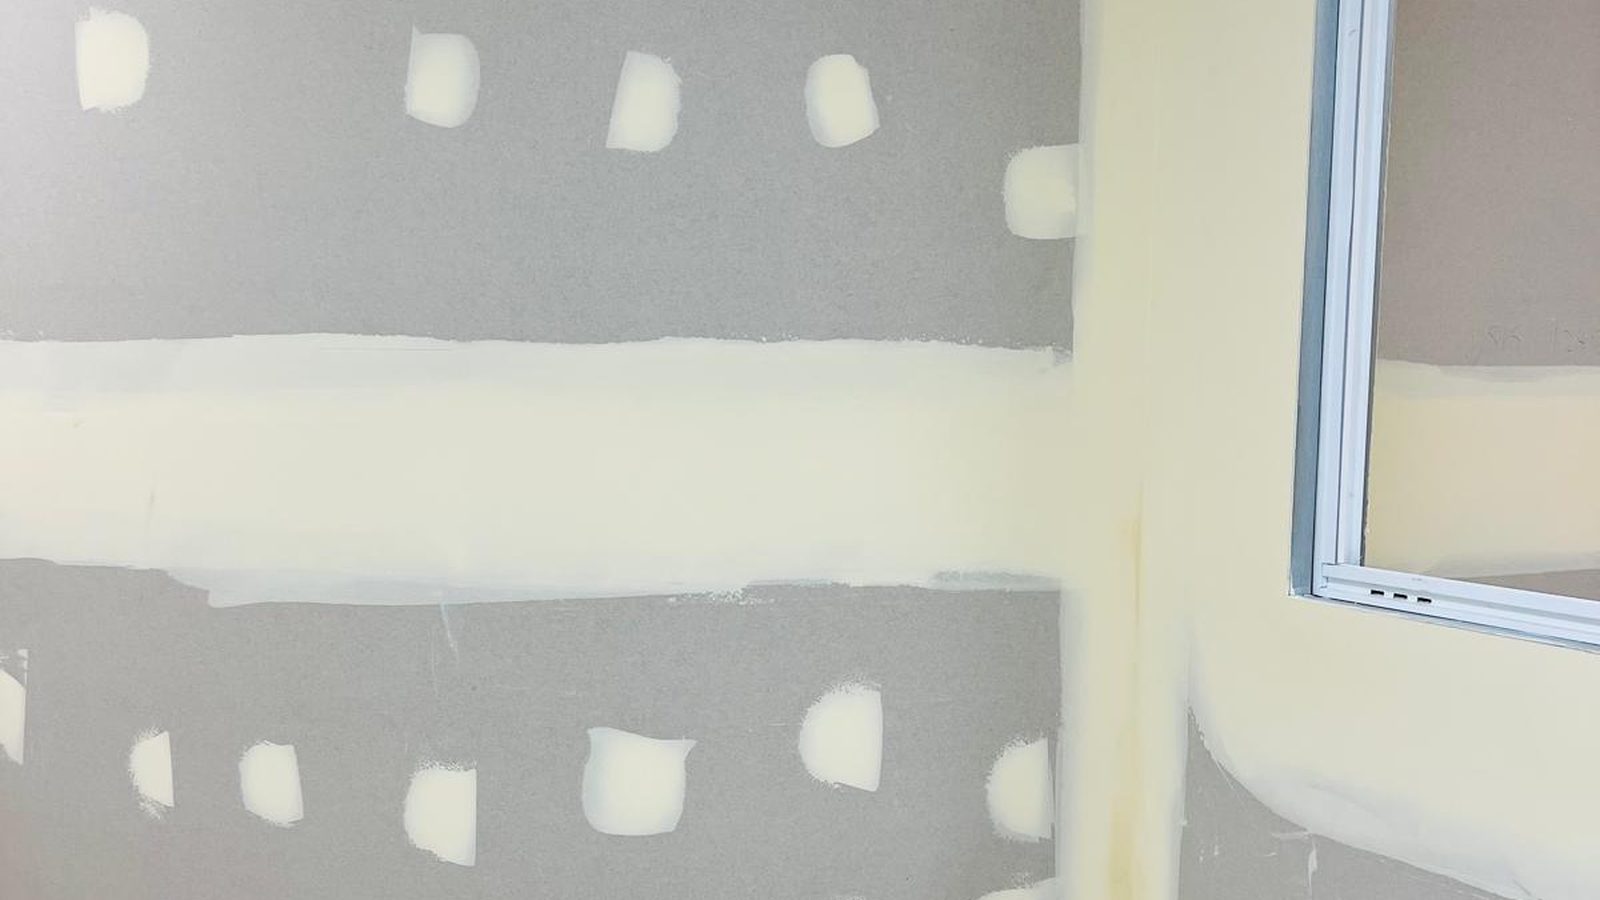
The surface gets tested first
Whatever is already on the wall decides whether a skim will hold. That is checked, not assumed.
Flat as one piece
Worked wall by wall and ceiling by ceiling, so there is no line where the good work stopped.
The finish level is agreed
How flat you actually need it changes the coats and the price, so it is settled up front.
Damage is repaired, not buried
Anything broken is fixed properly before the skim. A thin coat over a hole is still a hole.
Start here
Skimming is not a general purpose fix. It solves one problem very well: a surface that is sound but no longer flat. These are the situations where it is usually the right answer.
Finish levels
Flat is not one standard, and the difference between the usual finish and the highest one is entirely about how the surface behaves under light. Agreeing this before we start is what stops the argument at the end.
| Finish | What the surface gets | Where it suits | What shows if you go lower |
|---|---|---|---|
| A standard set finish | Joints, angles and fixings set and sanded, the surface flat but not coated overall | Most walls and ceilings in normal domestic light, painted in a flat or low sheen colour | Nothing much, as long as the surface was reasonably flat to start with |
| A skim over the whole surface | A thin coat taken across the full plane, then sanded so the surface reads as one piece | Patched, textured or tired surfaces where the differences between areas are the problem | The patch pattern coming back through the paint, strongest under raking light |
| A skim to a high flatness standard | A further coat and a longer sanding and checking process across the whole surface | Gloss and semi-gloss paint, dark or saturated colours, and surfaces lit close along their face | Every slight variation in the plane, made obvious by the sheen of the paint or the angle of the light |
| A matched texture instead | The existing texture reproduced over the repaired area rather than removed | Older ceilings where removing the texture entirely is not wanted or not worth the cost | The patch reading as a different texture, which is usually more obvious than a difference in flatness |
Scope
This page owns resurfacing: taking a surface that is structurally sound and making it flat again. Fixing what is broken, and applying solid plaster to masonry, are separate jobs with their own pages and their own methods.
A skim is a finishing coat, not a structural one. It will not hold a loose surface down, close a live crack or make a soft area firm. Where any of those turn up, they get fixed first and then the skim goes over the lot.
Suitability
Almost everything about whether a skim lasts is decided by what is under it. This is roughly how we sort a surface when we look at it.
Under the coat
A skim is the same idea on every surface and a different job on each of them. What is already there decides the preparation, the number of coats and how long the room is out of use.
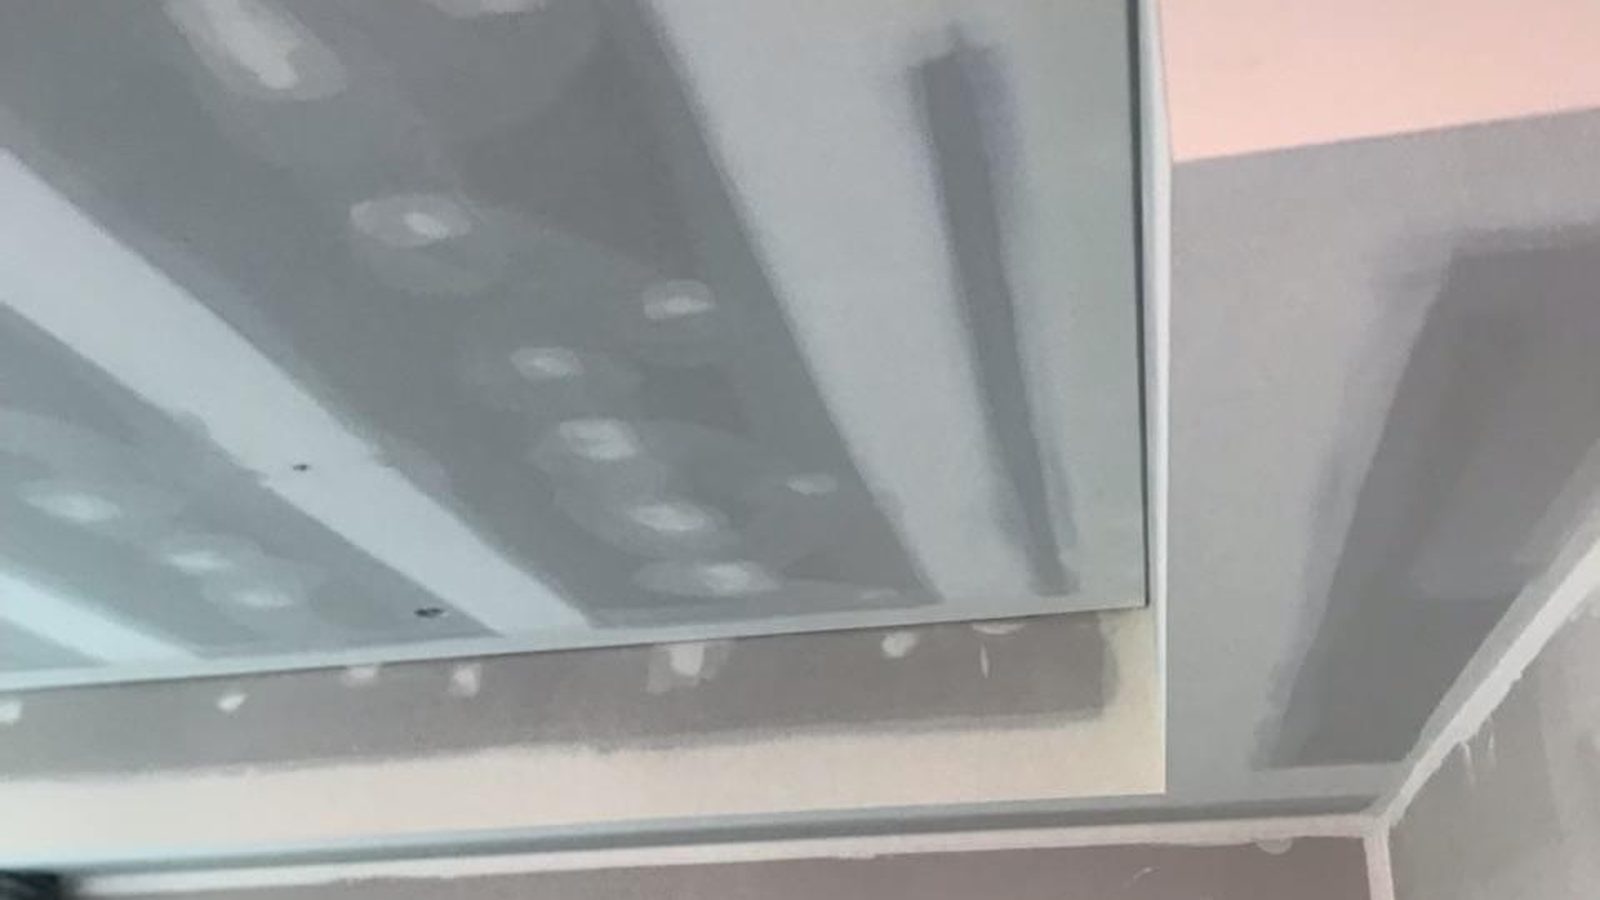
How the job runs
The coating itself is quick. Everything either side of it is what makes the difference, and the drying between coats is what sets the timeline.
Before anything is quoted we check how the surface behaves: whether it is firm, whether it powders, whether the paint is sound, and whether anything is loose. On texture that includes working out how deep it is, because depth decides the coats.
Holes, cracked sections, loose joins and lifted tape are dealt with as repairs first and allowed to dry. A skim is a millimetre or so of material and it will follow whatever is underneath it rather than correct it.
Floors and anything staying in the room are covered, fittings and plates come off where they should, and the surface is cleaned and either de-glossed or bonded so the compound has something to grip.
The coat is taken across the entire plane rather than the problem area, and carried into the corners and up to the junctions, so there is no line where the skim stops and the original surface begins.
Each coat dries before the next one goes on. A light refresh may need one pass. Deep texture, a wavy render or a high flatness finish needs more, and that is the honest reason a skim takes days rather than hours.
Sanded back and checked with a light held flat against the surface, which shows the plane far better than looking straight at it. Dust is cleaned up and the room is handed over ready for a painter.
Test and prepare Coat and finish
The quote
Skimming is quoted on area, then adjusted by the things that change how many coats it takes and how much preparation comes first.
Walls only, ceilings only, or both. Ceilings are slower than walls of the same area because of the working position and the amount of material overhead.
Flat painted board is the base case. Deep texture, old render and adhesive residue all add preparation and usually add a coat.
The skim price assumes a sound surface. Holes, cracked sections and loose areas are repair work, priced separately, and they have to be done and dried before the skim starts.
The difference between a good flat surface and one that has to hold up under gloss paint or a raking wall light is a further coat and a much longer sanding and checking process.
Every coat needs drying time before the next one. More coats means more days in the room, and that is usually the biggest single thing people underestimate.
A stair void, a raked ceiling, a high entry or a room full of returns and reveals all slow a coat that wants to be worked continuously.
An empty room is quick to protect. A furnished home, a tenanted unit or a shop that has to keep trading changes how the work is staged and how much time goes on covering up.
Sanding a whole plane makes far more dust than sanding a patch. Where the room has to be sealed off more thoroughly, or the sanding has to be worked around someone in the house, that is real time.
Either side of a skim
A skim is often the last step rather than the only one. These are the pages it most often follows on from.
Holes, impact damage and cracked walls made good first, because a skim follows the surface rather than fixing it.
Wall repairsJoint cracking, screw pops and failed old patches sorted out before a ceiling is brought back to one plane.
Ceiling repairsWhere a masonry wall needs real thickness rather than a thin finishing coat, which is a different material and method.
Solid plasteringSprayed and vermiculite ceiling coatings, which have to be assessed before anyone sands, scrapes or coats them.
Textured ceilingsQuestions
If yours is not here, ask it. We would rather answer it on the phone than have you guess.
It is a thin coat of finishing compound taken over an entire wall or ceiling rather than over the damaged part of it. The point is not to fill anything in particular. It is to make the whole plane read as one surface again, so nothing underneath it shows through the paint.
That is why it is measured by area rather than by the number of problems. Once the coat is being taken across a surface, it costs much the same whether that surface has one bad area or thirty.
Usually, and it is one of the most common reasons people ask for a skim. The coating is checked first to make sure it is firmly bonded and not powdering, then the high peaks are knocked back so the compound is not trying to bury them, and the surface is bonded and coated.
Two things to expect. Deeper texture needs more coats, so the timeline and the price both move with the depth rather than the area alone. And if the texture is a sprayed vermiculite or popcorn coating, nothing gets sanded or scraped until it has been assessed, which is covered on the textured ceiling page.
No, and this is the most important thing to be clear about. A skim is a millimetre or so of finishing material. It follows the surface underneath rather than correcting it, and a crack that is still moving will come straight back through a skim, often within a season.
Cracks are repaired first as their own piece of work: raked out, reinforced, set and dried. Then the skim goes over the whole plane. If a crack has already reopened once after a proper repair, that is movement in the building rather than a plaster fault, and it wants understanding before anyone coats over it.
Usually, and often by a good margin, because nothing comes off the wall, nothing goes to the tip and the room does not become a demolition site. It also keeps the existing cornice, the existing junctions and the existing services exactly where they are, which saves a lot of secondary work.
It stops being the cheaper answer when the surface underneath has genuinely failed: board that is soft, loose, water affected or so far out of shape that a thin coat cannot correct it. At that point the honest comparison is against relining the surface, and we would rather say so at the quote than take the skim job.
A single room is commonly a few days rather than one day, because each coat has to dry before the next goes on. A light refresh over sound painted board is the quick end. Deep texture, a whole house or a high flatness finish is the long end, and the drying is what drives it either way.
You can normally stay in the house. We work room by room, seal the area off where we can and clean up at the end of each visit, so the rest of the home stays usable. The room being skimmed is out of action while it is wet, and sanding a whole plane makes a lot of fine dust, so tell us at the quote if that has to be worked around.
Yes. A skim leaves a fresh compound surface across the whole plane, and that has to be sealed and painted. It is one of the reasons a skim makes sense as part of a repaint rather than on its own: you were going to paint the room anyway, and the surface under the paint is now worth painting.
Give the surface proper drying time before the sealer goes on. Compound that is painted while it is still giving up moisture will show back, and the flatness you just paid for gets judged by how it looks under the finished paint.
Yes, and it is a common request in older Sydney houses where the walls are solid, sound and distinctly wavy. Hardwall and render take a finishing coat well, and a skim will straighten the read of the wall considerably without anyone touching the masonry behind it.
The preparation is different from board. Those surfaces are often thirsty and will pull moisture out of the compound too quickly, so they get sealed or bonded first. If the wall needs real thickness rather than a thin coat, that is solid plastering and a different conversation.
Get it priced
A picture taken with a light raking along the surface tells us more than a straight-on shot ever will. With that and the room sizes we can tell you whether a skim is the right answer.