
Suspended ceilings
The set plasterboard version of a hung ceiling, for front of house and anywhere a continuous plane is expected.
Suspended
Plastering Gyprock Ceilings
Grid and tile
An exposed metal grid on a module with tiles that lift out. It is the ceiling that pays for itself in any building where somebody has to get above it regularly.
A grid ceiling is a maintenance decision before it is a finish decision. The grid is suspended on a module, the tiles sit into it rather than being fixed to it, and any square of the ceiling can be lifted out and put back by one person in a few seconds. Nothing built in plasterboard gives you that.
This page covers how a grid is set out and installed, the tile types that go into it, and how tiles and grid are put back in order in a ceiling that has been knocked about. It also says plainly where a set plasterboard ceiling is the better answer.
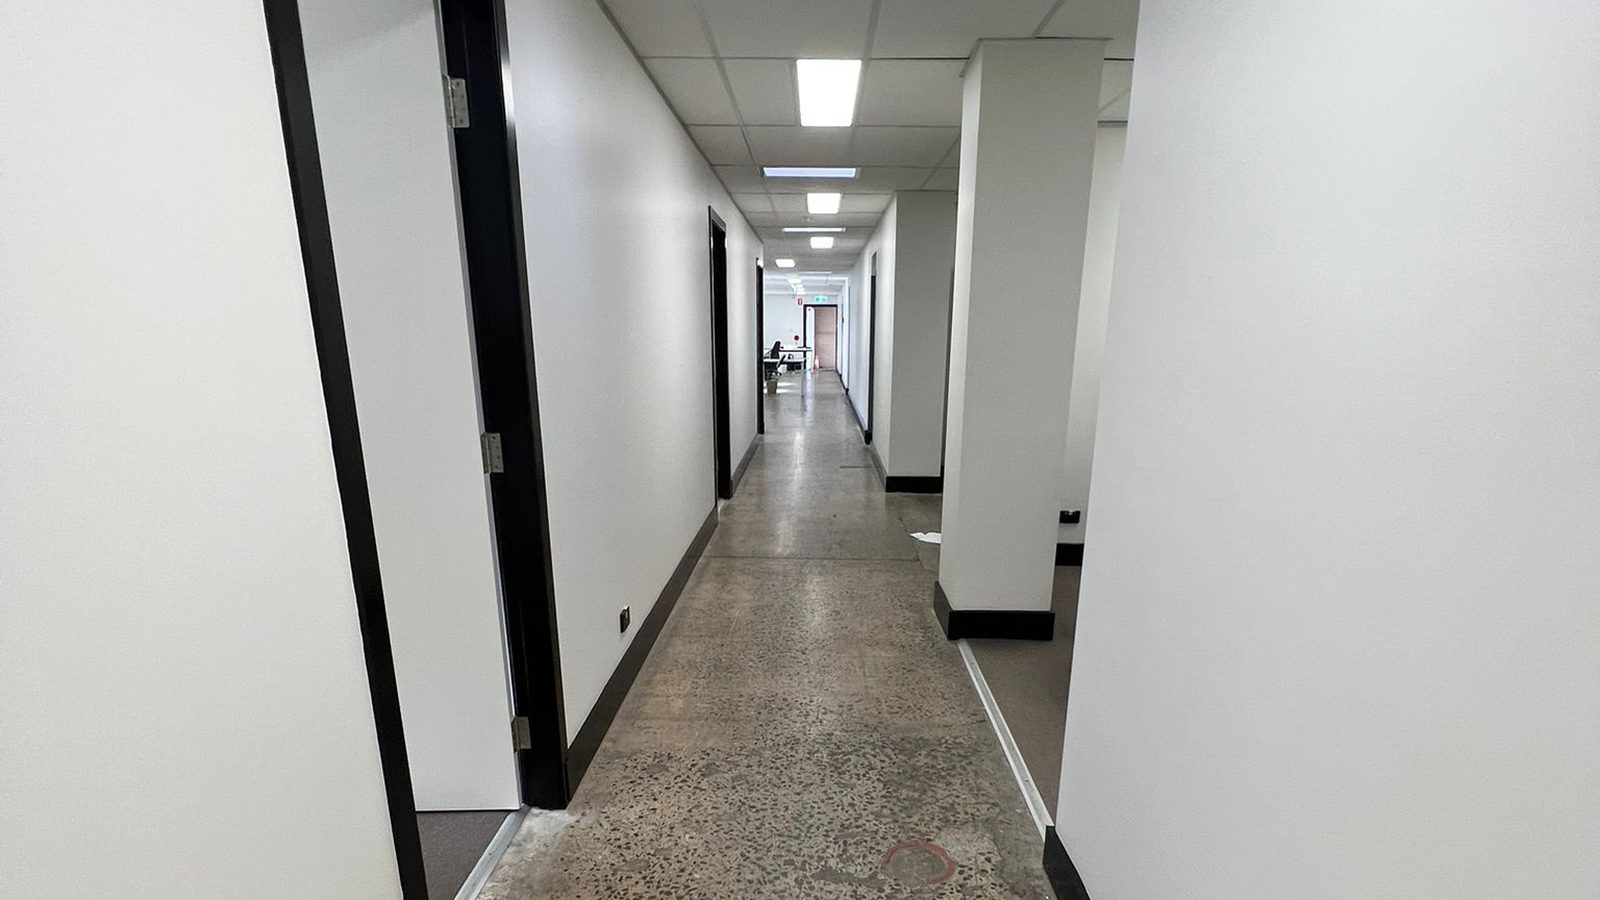
Set out from the room, not the corner
Where the cut tiles land is decided before the first main goes up. It is the difference between a deliberate ceiling and a leftover strip.
The tile is a choice
Plain, washable, perforated or metal. The tile does most of the work of how a grid ceiling looks and behaves.
Access is the whole point
Lay-in tiles mean a maintenance trade never has to cut your ceiling. Keep spares and it stays that way.
We will say when grid is wrong
In a house, in front of house, or anywhere a continuous painted plane is expected, a set ceiling is usually the better spend.
Where it fits
A grid is not a cheaper suspended ceiling. It is a different decision, and these are the situations where it is clearly the correct one.
Tile types
Tile choice is where most of the money and nearly all of the difference sits. The grid costs about the same whatever you lay into it.
| Tile | What it is | Where it suits | Worth knowing |
|---|---|---|---|
| Plain mineral fibre | The default lay-in tile: a pressed mineral board with a painted face | Offices, corridors, storerooms, anywhere a plain white ceiling is fine | Cheapest to buy and to replace. Marks and stains easily, so keep spares |
| Vinyl faced | A mineral tile with a wipeable skin across the face | Clinics, kitchens, childcare, food handling, anywhere the ceiling gets cleaned | The face can be washed. Sound absorption is lower than a bare mineral tile |
| Perforated or fissured | A tile with a textured or perforated face made to absorb sound rather than reflect it | Open plan offices, meeting rooms, call spaces, classrooms | Makes a noisy room calmer. Where a rating has to be met, that is acoustic work |
| Moisture resistant | A tile built to hold its shape in humid or damp conditions | Laundries, plant rooms, and covered or semi-exposed spaces | It resists sag from humidity. It does not survive water coming through from above |
| Metal pan | A pressed steel or aluminium tray, sometimes perforated with an acoustic backing | Lobbies, front of house, bathrooms, anywhere a harder and more deliberate look is wanted | Durable and washable, costs more, and it needs a grid suited to the pan |
| Plasterboard lay-in | A plasterboard tile in a grid, for a flatter and more solid looking ceiling | Where the look of a set ceiling is wanted but access still matters | Heavier than mineral fibre, and the joints between tiles are still visible |
Scope
Two jobs live on this page: putting a new grid in, and putting an existing one back in order. Both are ordinary work and both get scoped the same way, by module, by tile, and by how much of the ceiling is involved.
If you already have grid, take a photo of one tile out of the ceiling showing its face, its edge and its back. Module, tile type and edge detail are usually identifiable from that, which saves a site visit.
Setting out
Every grid ceiling in every building is made from the same parts. The ones that look right had these six thought about before anything went up.
A square module and a rectangular one read very differently in the same room, and they change how light fittings and diffusers sit. The module is usually set by the base building, by the fittings, or by the tile being used.
A grid set out from one corner leaves full tiles on two walls and a thin ribbon on the other two. Set out from the centre lines and the cuts are equal at both ends, which is what makes a ceiling look intended rather than just delivered.
Tees running the length of a corridor look calm. The same grid turned across it looks like a ladder. On an open floor the direction usually follows the longest sightline or the window line.
Troffers and diffusers that fill a whole module are tidy and simple to move later. Fittings landing part way into a tile mean cut tiles, extra support, and a ceiling that is harder to change.
Wall angle, a shadowline trim or a plasterboard margin at the perimeter all look different and cost differently. Columns, ducts and bulkheads have to be trimmed out, and that is where a rushed ceiling shows.
Mains hung at the right spacing, and cross tees squared as the grid grows rather than corrected at the end, is what keeps tiles flat with even joints. A grid out of square shows in every tile in the room.
Keeping it looking right
The best argument for a grid ceiling is the day something goes wrong in it. This is what maintenance actually looks like.
A tile stained by a leak above is lifted out and a new one dropped in. No cutting, no compound, no drying time, no painter. That is why a grid ceiling in a building with any history of water is a sensible decision rather than a cheap one. The one condition is that the leak itself is stopped first, because a fresh tile under an active leak is a tile you buy twice.
The problem is matching. Tile faces age, and a ceiling that has had tiles swapped one at a time over ten years ends up a patchwork of slightly different whites. Where a room has drifted that far, replacing every tile in it is usually the better answer, and because the grid stays where it is that is a fast and inexpensive job by the standards of anything done in plasterboard.
Grid gets damaged too: tees bent by ladders, sections cut out and never put back after a services change, or a wall removed leaving grid running into open space. Those get straightened, spliced or re-run so the module is continuous again, which matters because a tile will not sit flat in a grid that is out of line.
The quote
Grid installs by the square metre, until the room stops being a simple rectangle. These are the things that change the rate.
A large clear floor plate is quick. The same area broken into small rooms, corridors and stores has far more perimeter, far more cutting and a great deal more trimming.
Plain mineral fibre and a metal pan sit at opposite ends of the range. Tile choice usually moves the total more than anything else on this list.
A module that lands neatly in the room is quick. Dimensions that leave awkward cuts on every wall take longer to set out and longer to cut.
Plain wall angle is the base case. A shadowline trim, a plasterboard margin or a recessed perimeter is a different job along every wall.
A clear slab or exposed steel above is straightforward. Timber framing, a crowded void, or a structure somebody has to confirm is suitable all change the fixing.
Every troffer, diffuser, detector, speaker and sprinkler drop wants support and often a cut tile. A busy services ceiling is far more work than a plain one.
A fresh install is predictable. Matching into existing grid, re-running damaged runs or extending after a layout change depends entirely on what is already there.
Working height, staging, lift bookings, inductions and after-hours access in a trading building all cost time before a single tee goes up.
How it goes in
A grid install is fast once the set-out is right, which is exactly why the set-out is where the care goes.
Room measured, module chosen, and the layout worked out so cuts fall evenly and fittings land where they should. The tile and the perimeter detail get confirmed here too.
A laser marks the finished ceiling line right around the room, and wall angle or trim is fixed to that line. Everything after this is levelled off it.
Hangers fixed to the structure above at the spacing the system needs, main tees hung from them, then levelled off the perimeter line and along their own length.
Cross tees in to form the module, squared as the grid grows rather than corrected at the end, with trimming framed around columns, ducts and openings.
Perimeter and penetration tiles cut cleanly, fittings supported, then tiles laid in and aligned, the ceiling left clean, and spare tiles stacked somewhere sensible.
Set out and level Grid and tiles
Nearby work
Grid ceilings rarely turn up on their own. These four pages carry the rest of the job.
The set plasterboard version of a hung ceiling, for front of house and anywhere a continuous plane is expected.
SuspendedLining, partitions and ceilings across a whole tenancy, sequenced around the other trades on site.
Fit-outsBringing a tenancy back to the condition the lease asks for at the end of a term.
Make goodPlastering in buildings that keep trading, with access, hours and staging planned around the tenants.
CommercialCommon questions
Most of these come from building managers rather than from designers.
Yes, and it is one of the most common calls on a grid ceiling. Tiles lift out and new ones drop in, so a handful of stained tiles in a corridor or an office is a short visit rather than a job.
Two things decide whether it looks right afterwards. The first is whether the leak or the condensation that stained them has been dealt with, because a new tile under a live drip will be stained again. The second is matching: if the ceiling is old and the tiles have aged, a brand new tile can look brighter than everything around it. Sometimes the tidier answer is to move an aged tile to a low traffic room and put the new one there.
Lift one tile out and photograph it. The face tells you the pattern, the edge tells you whether it is a plain square edge or a rebated one that sits down into the grid, and the back often carries a code. Measure the tile as well, because the module is what everything else follows.
Photograph the grid at a tee junction too. The width of the exposed face and the way the cross tees connect vary between systems, and mixing systems is how a ceiling ends up with tiles that sit at slightly different heights. With those two photos most of a quote can be done without a visit.
To install, usually yes, and that gap is not the main reason to choose it. A grid goes in faster, there is no taping, no setting, no drying time and no painter, so the program is much shorter as well as the invoice.
The real saving comes later. Every change above a set plasterboard ceiling is a plastering repair plus a repaint. Above a grid it is usually a tile out and a tile back. In a building where services change, that difference over ten years dwarfs the install price, which is exactly why offices have grid and houses do not.
A perforated or fissured tile absorbs a useful amount of sound within the room, so an open floor with hard surfaces generally feels calmer with one than with a flat painted plane. That is a real effect and it is one of the reasons those tiles exist.
What it is not is soundproofing between spaces. Sound passing from one office to the next travels over the top of the partitions and through the ceiling void, and a lay-in tile does very little to stop it. Where speech privacy between rooms matters, the partition has to go up to the structure and the void has to be dealt with, which sits with acoustic plastering and partition walls.
It can, and now and then it is the right call: a garage, a workshop, a basement store, or a laundry under a wet area where getting at the pipework matters more than the finish.
In living areas it usually is not. A visible module in a bedroom or a lounge reads as commercial, the tiles mark easily, and ceiling heights in houses are lower to start with. In almost every domestic room a set plasterboard ceiling is what people want, and if services have to be concealed then suspended ceilings does it without a visible grid.
Within the module, more or less. A fitting that takes up a whole tile is the easiest thing to place and the easiest to move. Something that lands part way across a tile needs the tile cut and usually extra support in the grid, which is fine but it fixes that fitting in place.
The tidy way to do it is to settle the lighting and mechanical layout before the grid is set out, so the module and the fittings agree with each other. That is also when the number of cut tiles gets decided, and cut tiles are the thing people notice in a finished ceiling.
That is the normal churn a grid ceiling is built for. Where a partition comes out, the grid is extended or re-run through the space it used to sit in, and the tiles around it are replaced. Where a new partition goes in, the grid is cut and trimmed to it so the tiles still sit square.
The only untidy outcome is a wall taken out and the ceiling left with a stripe of mismatched tiles and a kinked tee where the old head track was. That is worth putting right at the same time as the wall work rather than living with, and it is usually part of a fit-out or a make good scope.
Get it quoted
For an existing ceiling, a tile out of the grid and a wide shot of the room is usually enough. For a new one, the floor area, the height and the fittings going in.