

Thin coatings
Microcement, understood properly before you commit a room to it
A thin cement-based coating built up in layers over a prepared substrate and then sealed. It adds almost no height, it hides no movement under it, and it is not a waterproofing membrane.
Microcement is the reason a bathroom can read as one continuous surface with no grout lines, and the reason a tired concrete floor can come back looking deliberate. It is also the finish that most often gets sold on the photograph and bought without the part that decides whether it lasts, which is everything underneath it.
This page sets out what the system is made of, what the substrate has to be before any of it goes down, where movement and cracking come from, what sealing does and does not do, how it behaves in a wet area, and what a quote for it is actually built from.
- A system, not a product
- Substrate tested before pricing
- Waterproofing stays a licensed trade
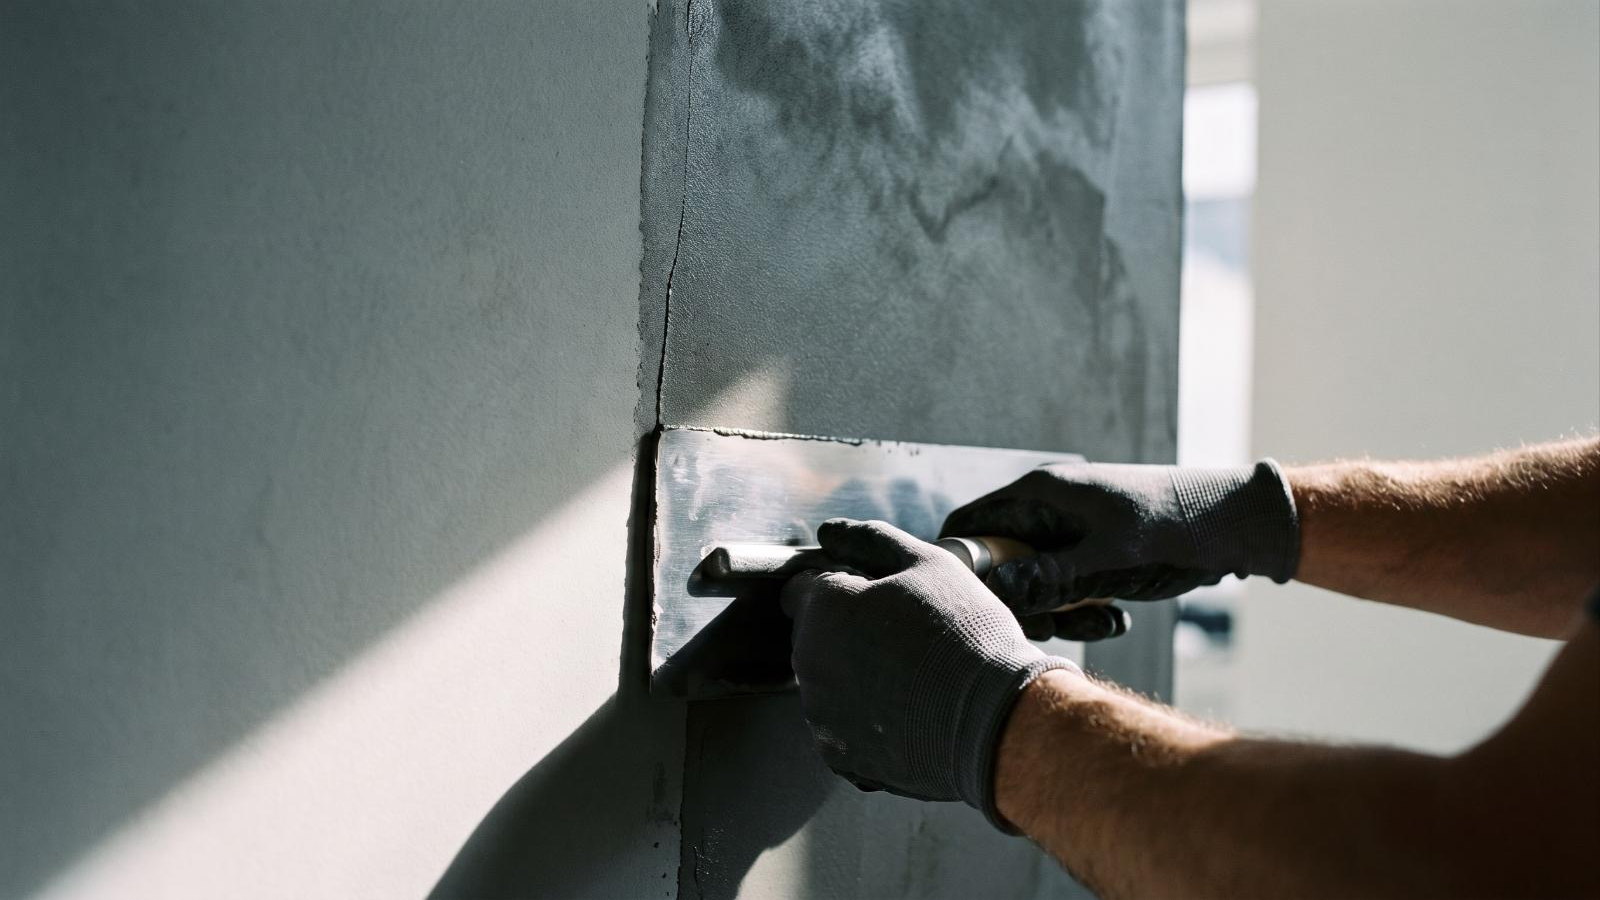
The substrate is the job
What it goes over decides whether it holds. Most failures are substrate failures wearing a finish.
One manufacturer, one system
Primer, base, fine coat and sealer are designed together. Mixing brands is where the system stops being a system.
Never sold as waterproof
Sealed is not waterproofed. The membrane is separate, it sits behind the surface, and it is licensed work.
Sample before commitment
It is hand applied and it moves in tone. You approve a sample in the room light, not a photograph.
Where it gets used
The surfaces people are usually asking about
Microcement goes on almost anything that is flat, sound and still. What changes between these is the exposure, the traffic and how much preparation the substrate needs, which is why they are not one price.
Bathroom and ensuite walls
Full height or to a set line, usually with the floor done to match. The appeal is the absence of grout. The work is in the corners, the junctions and what happens where it meets the shower.
Floors in bathrooms and laundries
Over a slab or a screed this is the material working at its best. Falls to the waste, the junction at the door and the detail around the shower all have to be right before a coat goes down.
Feature and living area walls
A dry wall with no water near it is the easy case. Here the conversation is about tone, mottle and how the wall is lit, because the surface is hand worked and it will not be uniform.
Vanity tops, bench returns and splashbacks
Small areas with a lot of edges. The substrate has to be rigid and properly supported, the sealer has to suit what will be put on it, and heat and staining are worth discussing honestly.
Stairs, hallways and entries
Attractive and demanding. Nosings and edges take the wear, and the sealer becomes the wearing surface rather than a finishing touch. It will need recoating on a cycle.
Over existing tiles
One of the strongest reasons people choose it, because the tiles stay where they are. It is viable when the tiles are firmly stuck, the grout lines are filled and the right primer is used for a low-suction surface.
Scope
What a microcement job covers, and what sits outside it
This page owns microcement and similar thin cementitious coating systems: the assessment, the preparation, the application and the sealing. It is a finish trade, and several of the things it touches belong to other trades by law or by practicality.
What this covers
- Assessment of the existing substrate for soundness, moisture, movement and flatness
- Substrate preparation, levelling and the primer the chosen system specifies
- Reinforcement layers where the system calls for mesh or scrim
- Base coats and fine finish coats in the agreed colour and texture
- Sample panels and, where it matters, a trial area in the actual room
- Sealing to the specified sheen, and the cure period before the surface is used
- Written care instructions, product details and what recoating will involve later
What this is not
- Waterproof membranes to showers, bathrooms and laundries, which is licensed waterproofing, and the lining under it is wet area linings
- Lime and marble decorative finishes, which are a different material entirely and sit on Venetian and polished plaster
- Bringing a plasterboard wall back to one flat plane before any coating, which is skim coating
- Sheeting, framing and new linings to form the surface in the first place, which is gyprock and plasterboard
- Render and hardwall coats worked onto interior masonry, which is internal solid plastering
- Plumbing, drainage falls, screeding to falls, tiling and joinery, all of which are separate trades on the same programme
Microcement is usually the last thing to happen in a room and the first thing blamed when something under it moves. Say early what the room is, what is behind the wall and whether it is being waterproofed, and the sequence can be planned properly instead of argued about later.
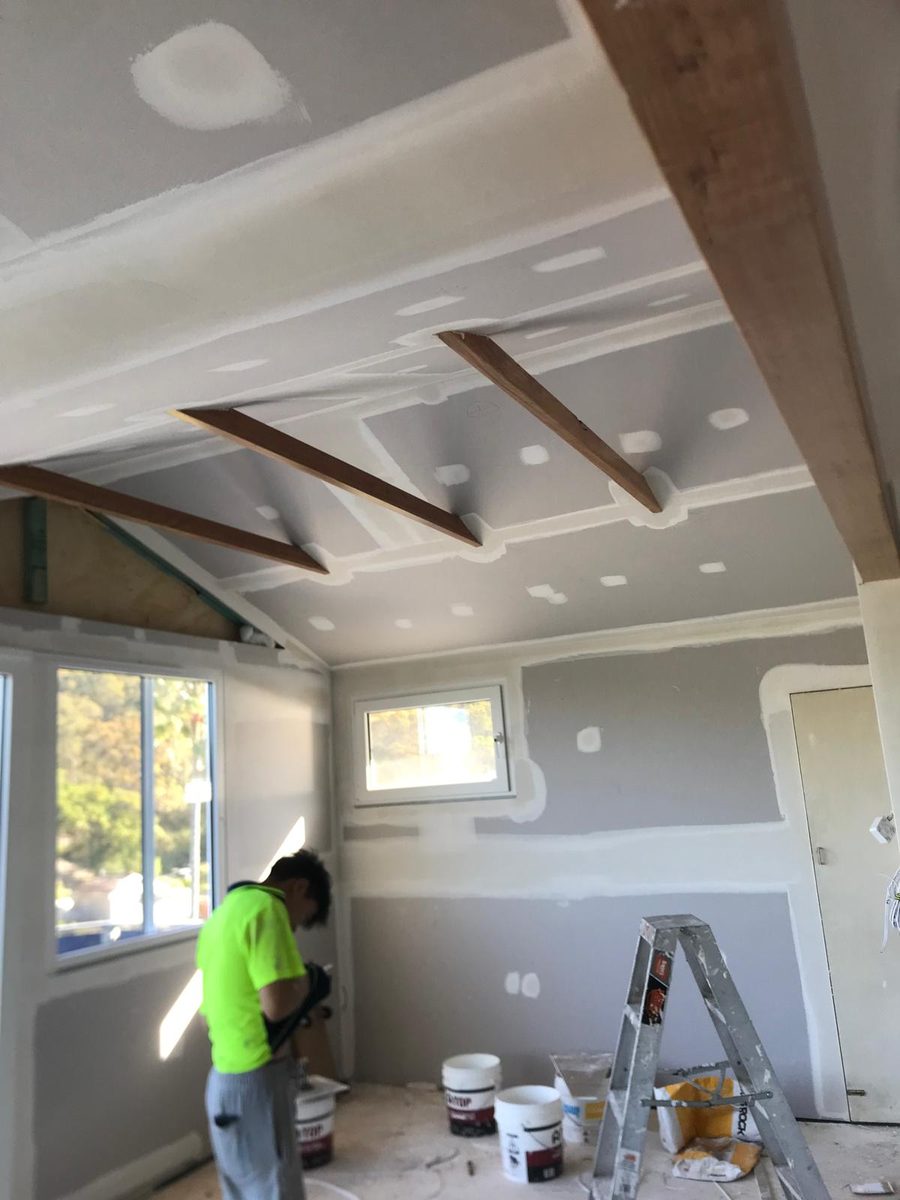
The system
What is actually going on the wall, layer by layer
Microcement is not one material out of one tub. It is a set of layers from one manufacturer, each chosen to work with the one before it, and the total thickness is usually only a couple of millimetres.
- Primer. Matched to the substrate rather than to the finish. A porous screed, a sheet of plasterboard and a glazed tile each need a different one, and this is the layer people skip when they buy the look instead of the system.
- Reinforcement. A mesh or scrim bedded into the first coats across the field, over joints and at changes of substrate. It spreads small stresses so they do not concentrate into one line.
- Base coats. Two coats in most systems, building the body of the finish and bringing the surface to a consistent plane and texture. This is where flatness is won or lost.
- Fine coats. Thin pigmented passes worked with a trowel. Tone, mottle and movement come from here, which is why the sample matters and why two walls are never identical.
- Sealer. Two or more coats, and on a floor or in a wet area it is the wearing surface. Sheen is chosen here. So is how the surface will be cleaned for the rest of its life.
- Cure. The sealer needs time before the room goes back into normal use. Rushing it is the most avoidable way to mark a new floor permanently.
Before the quote
What a microcement quote is actually made of
A rate per square metre means very little on its own here, because the same area over two different substrates is two different jobs.
What it is going over
The largest single variable. A sound slab needs priming. A tiled floor needs grout lines filled and a bonding primer. A timber floor may need an overlay board before anything else happens.
Floor or wall
Floors carry traffic, so they get more coats, a harder sealer and a longer cure. The same colour on a wall in the same room is a lighter specification.
How the area is broken up
One open floor is efficient. The same square metres cut into a shower base, a hob, a step and three returns is mostly edges, and edges are where the time goes.
Wet area or dry
A wet area brings sequencing with a waterproofer, junction details and a sealer suited to constant moisture. A dry feature wall has none of that.
Colour and finish
Deep colours and strong mottle take more control to keep even. A pale, quiet finish is more forgiving across a big area but shows marks more readily later.
The sample stage
Sample boards, and a trial area in the room where it matters, take material and time. Ask whether they are carried in the price or charged separately.
Room availability
A floor is best laid in one continuous run per area, because where the work stops for the day can show. A room that is only available in pieces changes the method.
Protection and cure time
Masking joinery, glass and stone is slow, and the cure period means the room is out of use afterwards. Both have to sit in the programme rather than be hoped through.
Substrates
What it is going over, and what that means
Every microcement conversation should start here. This is the usual starting point for each kind of surface, and the third column is the reason the assessment is not a formality.
| What is under it | What it usually needs | What goes wrong |
|---|---|---|
| Concrete slab | Checked for moisture and cracking, ground or patched flat, then primed to suit its porosity | Moisture still coming up through the slab, and existing cracks that are still moving |
| Sand and cement screed | Confirmed as sound, well bonded and fully dry before anything goes on it | A screed that is drummy in places, or laid too recently and still giving up water |
| Existing tiles | Tiles checked individually for adhesion, grout lines filled, surface abraded and a low-suction primer used | A loose tile nobody found. It takes the coating with it when it finally lets go |
| Timber or particleboard floor | Usually an overlay board fixed at close centres, plus reinforcement, because the floor itself flexes | Deflection underfoot. A coating a couple of millimetres thick cannot bridge a floor that moves |
| Plasterboard walls | Joints set, the plane made flat and the board fixed firmly with no movement at the sheet edges | Joint lines telegraphing through, and cracking at sheet junctions that were never back-blocked |
| Rendered or solid masonry | Sounded for drummy areas, made good and checked for damp before priming | Rising damp and salts, which will keep coming through whatever is put over them |
How the work runs
Test it, sample it, prepare it, coat it, seal it
The order is fixed and none of it can be compressed. Most of the risk on a microcement job is taken or avoided in the first two steps.
- 01
Assess and test
The substrate is checked for soundness, moisture, flatness and movement, and the room is looked at for what else is happening in it. On a floor this includes standing on it and feeling for deflection, which tells you more than any photograph.
- 02
Sample and agree
A sample in the chosen colour, texture and sheen, and where it matters a trial area in the room itself. The surface is hand applied and varies in tone, so the sample becomes the reference the finished work is measured against.
- 03
Prepare, prime and reinforce
Levelling, filling, grinding or overlaying as the substrate requires, then the system primer and the mesh or scrim where the system calls for it. This step is usually the longest and it is not the one to save money on.
- 04
Base coats
Built up in thin passes with drying time between them, bringing the surface to an even plane and texture. On a floor, an area is worked continuously wherever the room allows it.
- 05
Fine coats
The pigmented passes that create the finished appearance. Timing and trowel pressure decide the tone and the movement, and the whole of a visible plane is worked as one piece where it can be.
- 06
Seal and cure
Sealer in the specified sheen and number of coats, then a cure period before the surface goes into use. You get the product details and the cleaning instructions, because the sealer decides how it ages.
Assess and prepare Coat and seal
Fit
Rooms it suits, and rooms to think twice about
Good candidates
- A bathroom or laundry over a concrete slab in an apartment or a newer house
- A wall that is already flat, sound and properly set, with no history of cracking
- An existing tiled surface that is firmly stuck and not going anywhere
- A dry feature wall where the look is the point and the exposure is nil
- A new build or renovation where the substrate can be specified before it is built
- A small bathroom where tile joints would make the space feel busier than it is
Resolve before anyone quotes it
- A timber or particleboard floor that flexes when you walk across it
- A slab or wall with cracking that is still moving, or a building with settlement history
- Any moisture coming up through a slab or across a wall that has not been diagnosed
- A shower where the waterproofing is unknown, old or was never certified
- A commercial kitchen or a heavy wet-traffic area where a hygienic lining is specified
- Any expectation of a perfectly uniform, blemish-free machine finish
Sealed is not waterproofed, and no sealer changes that
Microcement is water resistant once it is sealed. It is not a waterproofing membrane and no product applied on top of it makes it one. In a shower, a bathroom floor or a laundry, the membrane goes in behind the surface, it is installed by a licensed waterproofer, and it is what actually keeps water out of the building.
Any quote that describes a microcement finish as waterproof, or offers it instead of a membrane, is worth walking away from. The sequence is the other way round: the substrate is built and made flat, the waterproofer does their work and it is certified, tiling or topping goes where it needs to, and the finish goes on last. The lining side of that sits on wet area linings.
Common questions
Microcement questions worth asking first
If yours is not here, ask it. We would rather answer it on the phone than have you guess.
Is microcement the same thing as Venetian plaster?
No. They get confused because both are trowelled on and both look mineral, but they are different materials with different uses. Venetian and polished plaster are lime based, thin and decorative, and they live on dry interior walls. Microcement is cement based, applied with primers and reinforcement, and sealed as a system.
The practical difference is where each one can go. If the surface is a floor, a shower wall, a step or a bench return, that points to microcement. If it is a dry feature wall and you want depth and light, look at polished plaster as well before you choose.
Can it go straight over my existing tiles?
Often, and it is one of the main reasons people choose it, because the tiles do not have to come off. What has to be true is that every tile is firmly stuck, the surface is clean and abraded, the grout lines are filled so they do not read through, and the primer is one made for a low-suction background.
The risk is the tile nobody found. A single drummy tile under a new coating will eventually let go and take the finish with it, and the repair is visible. Tiles get tapped individually before anything is priced, and any loose ones are dealt with first.
Is a microcement shower waterproof?
The microcement is not what makes it waterproof. A sealed surface resists water, and in a shower that is not enough on its own. A membrane installed by a licensed waterproofer sits behind the surface and is what stops water reaching the building. Microcement goes on top of a system that already works.
So the question to ask is not whether the finish is waterproof, but what the waterproofing behind it is, who installed it, and whether it is certified. If the answer is vague, sort that out before choosing any surface material at all.
What makes microcement crack?
The coating itself is only a couple of millimetres thick, so it cannot bridge movement in whatever is under it. If the substrate cracks, the finish shows it in the same place. That is why so much of the work is assessment and preparation, and why reinforcement is bedded into the base coats.
Structural joints and expansion joints are carried through the finish rather than covered over, because a joint that is doing a job will keep doing it. Where cracking has happened before, the cause has to be understood first. Nothing applied on top fixes a moving substrate.
Can it go on a timber floor?
It can, and it is the hardest case, so it is worth being blunt about. Timber and particleboard floors flex underfoot and move with humidity. A thin cement coating laid straight onto one will crack, usually along the sheet joints, and usually within the first year.
Done properly it means an overlay board fixed at close centres to stiffen the floor, reinforcement through the coats, and a realistic look at how much deflection there is before anyone commits. If the floor bounces when you walk across it, that has to be fixed first or the answer is another material.
How much height does it add?
Very little, which is a large part of the appeal. Total build-up is usually only a couple of millimetres, so doors, thresholds and the junction to an adjoining floor are rarely affected in the way they would be by tiling over an existing floor.
What can add height is the preparation rather than the finish. A floor needing a levelling compound, a screed to correct falls, or an overlay board will gain more than the coating does, and that is worth settling before the doors are hung.
How do I look after it, and can it be repaired?
A pH neutral cleaner and a soft cloth or mop. No abrasive pads, no scouring cream, no bleach and nothing acidic, because the sealer is what you are cleaning and the wrong product dulls or strips it. In a wet area, wiping the surface down after use makes a real difference to how it ages.
The sealer is a wearing layer and on a floor it will need recoating on a cycle, which is normal maintenance rather than a fault. Small damage can often be made good and resealed locally, and how invisible that is depends on the colour and the mottle. Keep the product details and any leftover material at handover.
Start with the substrate
Tell us the room and what is under the surface now
Photographs, rough dimensions, what the floor or wall is built of and whether the room is being waterproofed. That is enough to say whether microcement suits it, and what the preparation would involve.